Welcome to another battle report. This time I faced 2 opponets who used one of my opponents lists, they played togheter with one command hand and it was more like a player with a coach. I think it both worked to their advantage with different ideas, however sometimes I think it might have worked against them with the classic too many cooks.
We played at our local gaming place at Studiefrämjandet.


It was great to finally test some of my newest terrain pieces. This match we had alot of light cover area terrain and some line of sight blocking trees + the building. As well as some difficult terrain water terrain and barricades. I used my modified list from the last time, learning from my misstakes and took some hints from my last opponent.
Rebel Alliance 798
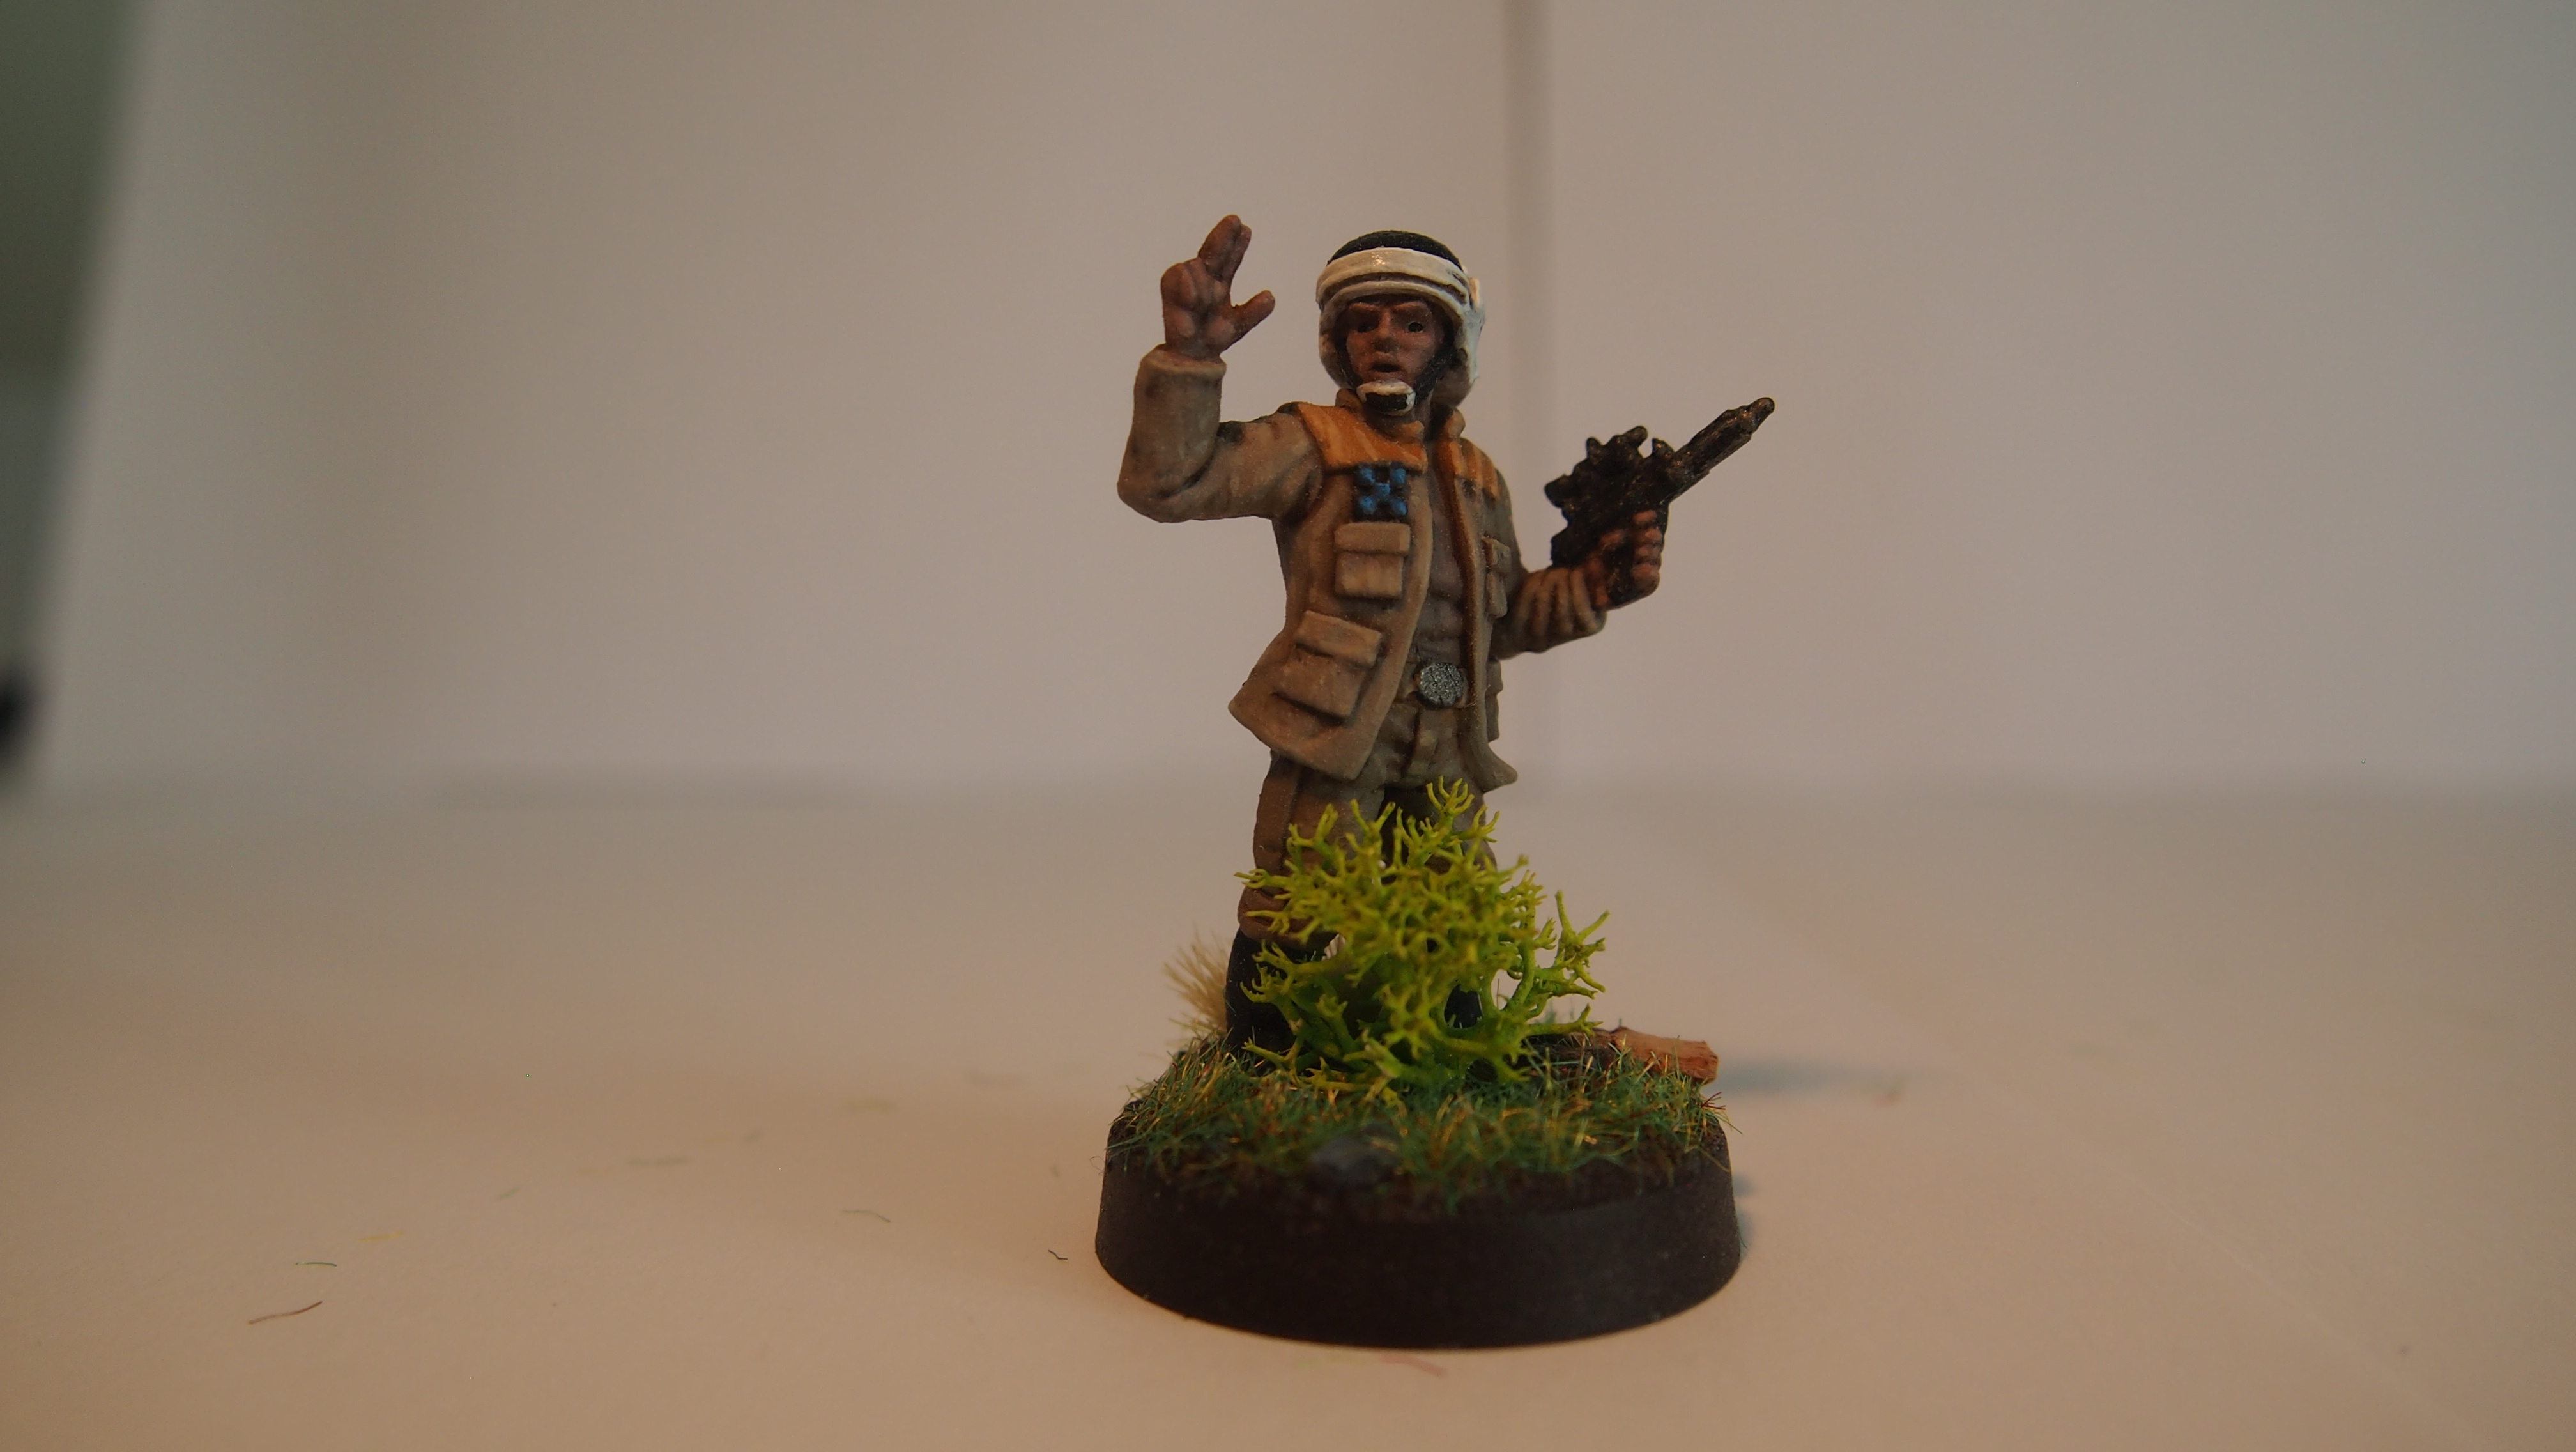
Commander
Rebel officer – esteemed leader 55p
Rebel officer – esteemed leader 55p
Corp
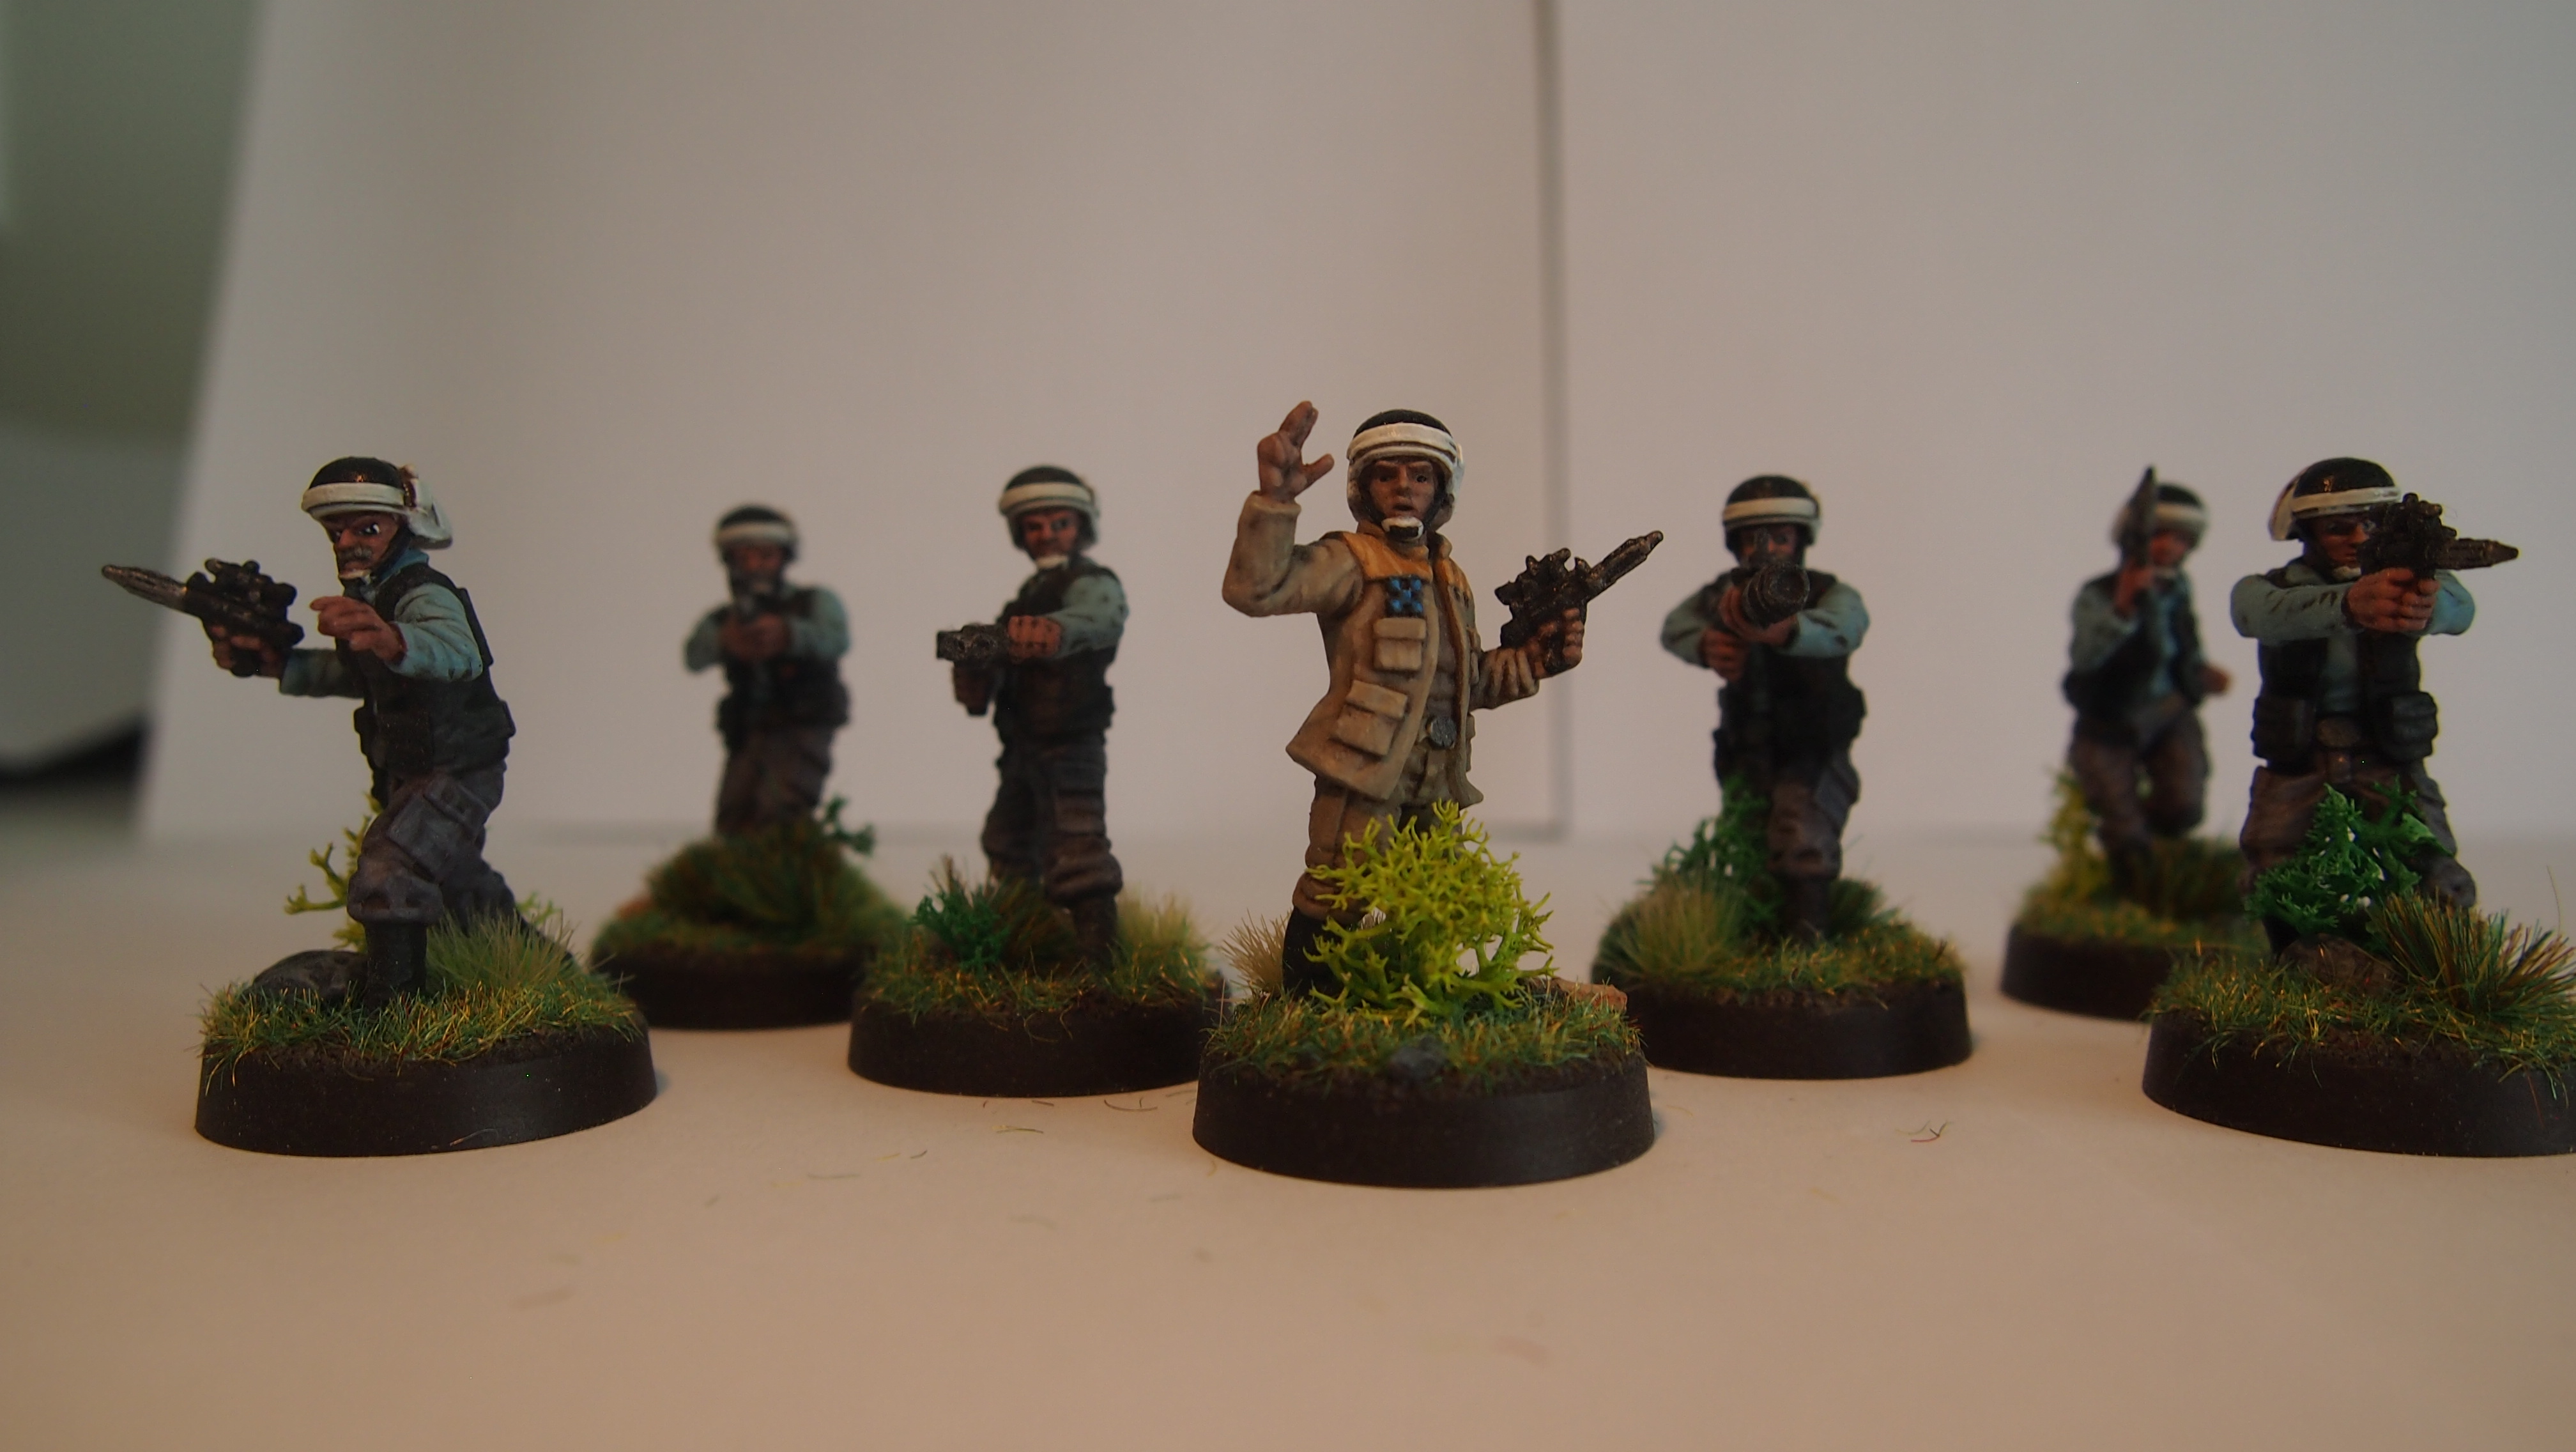
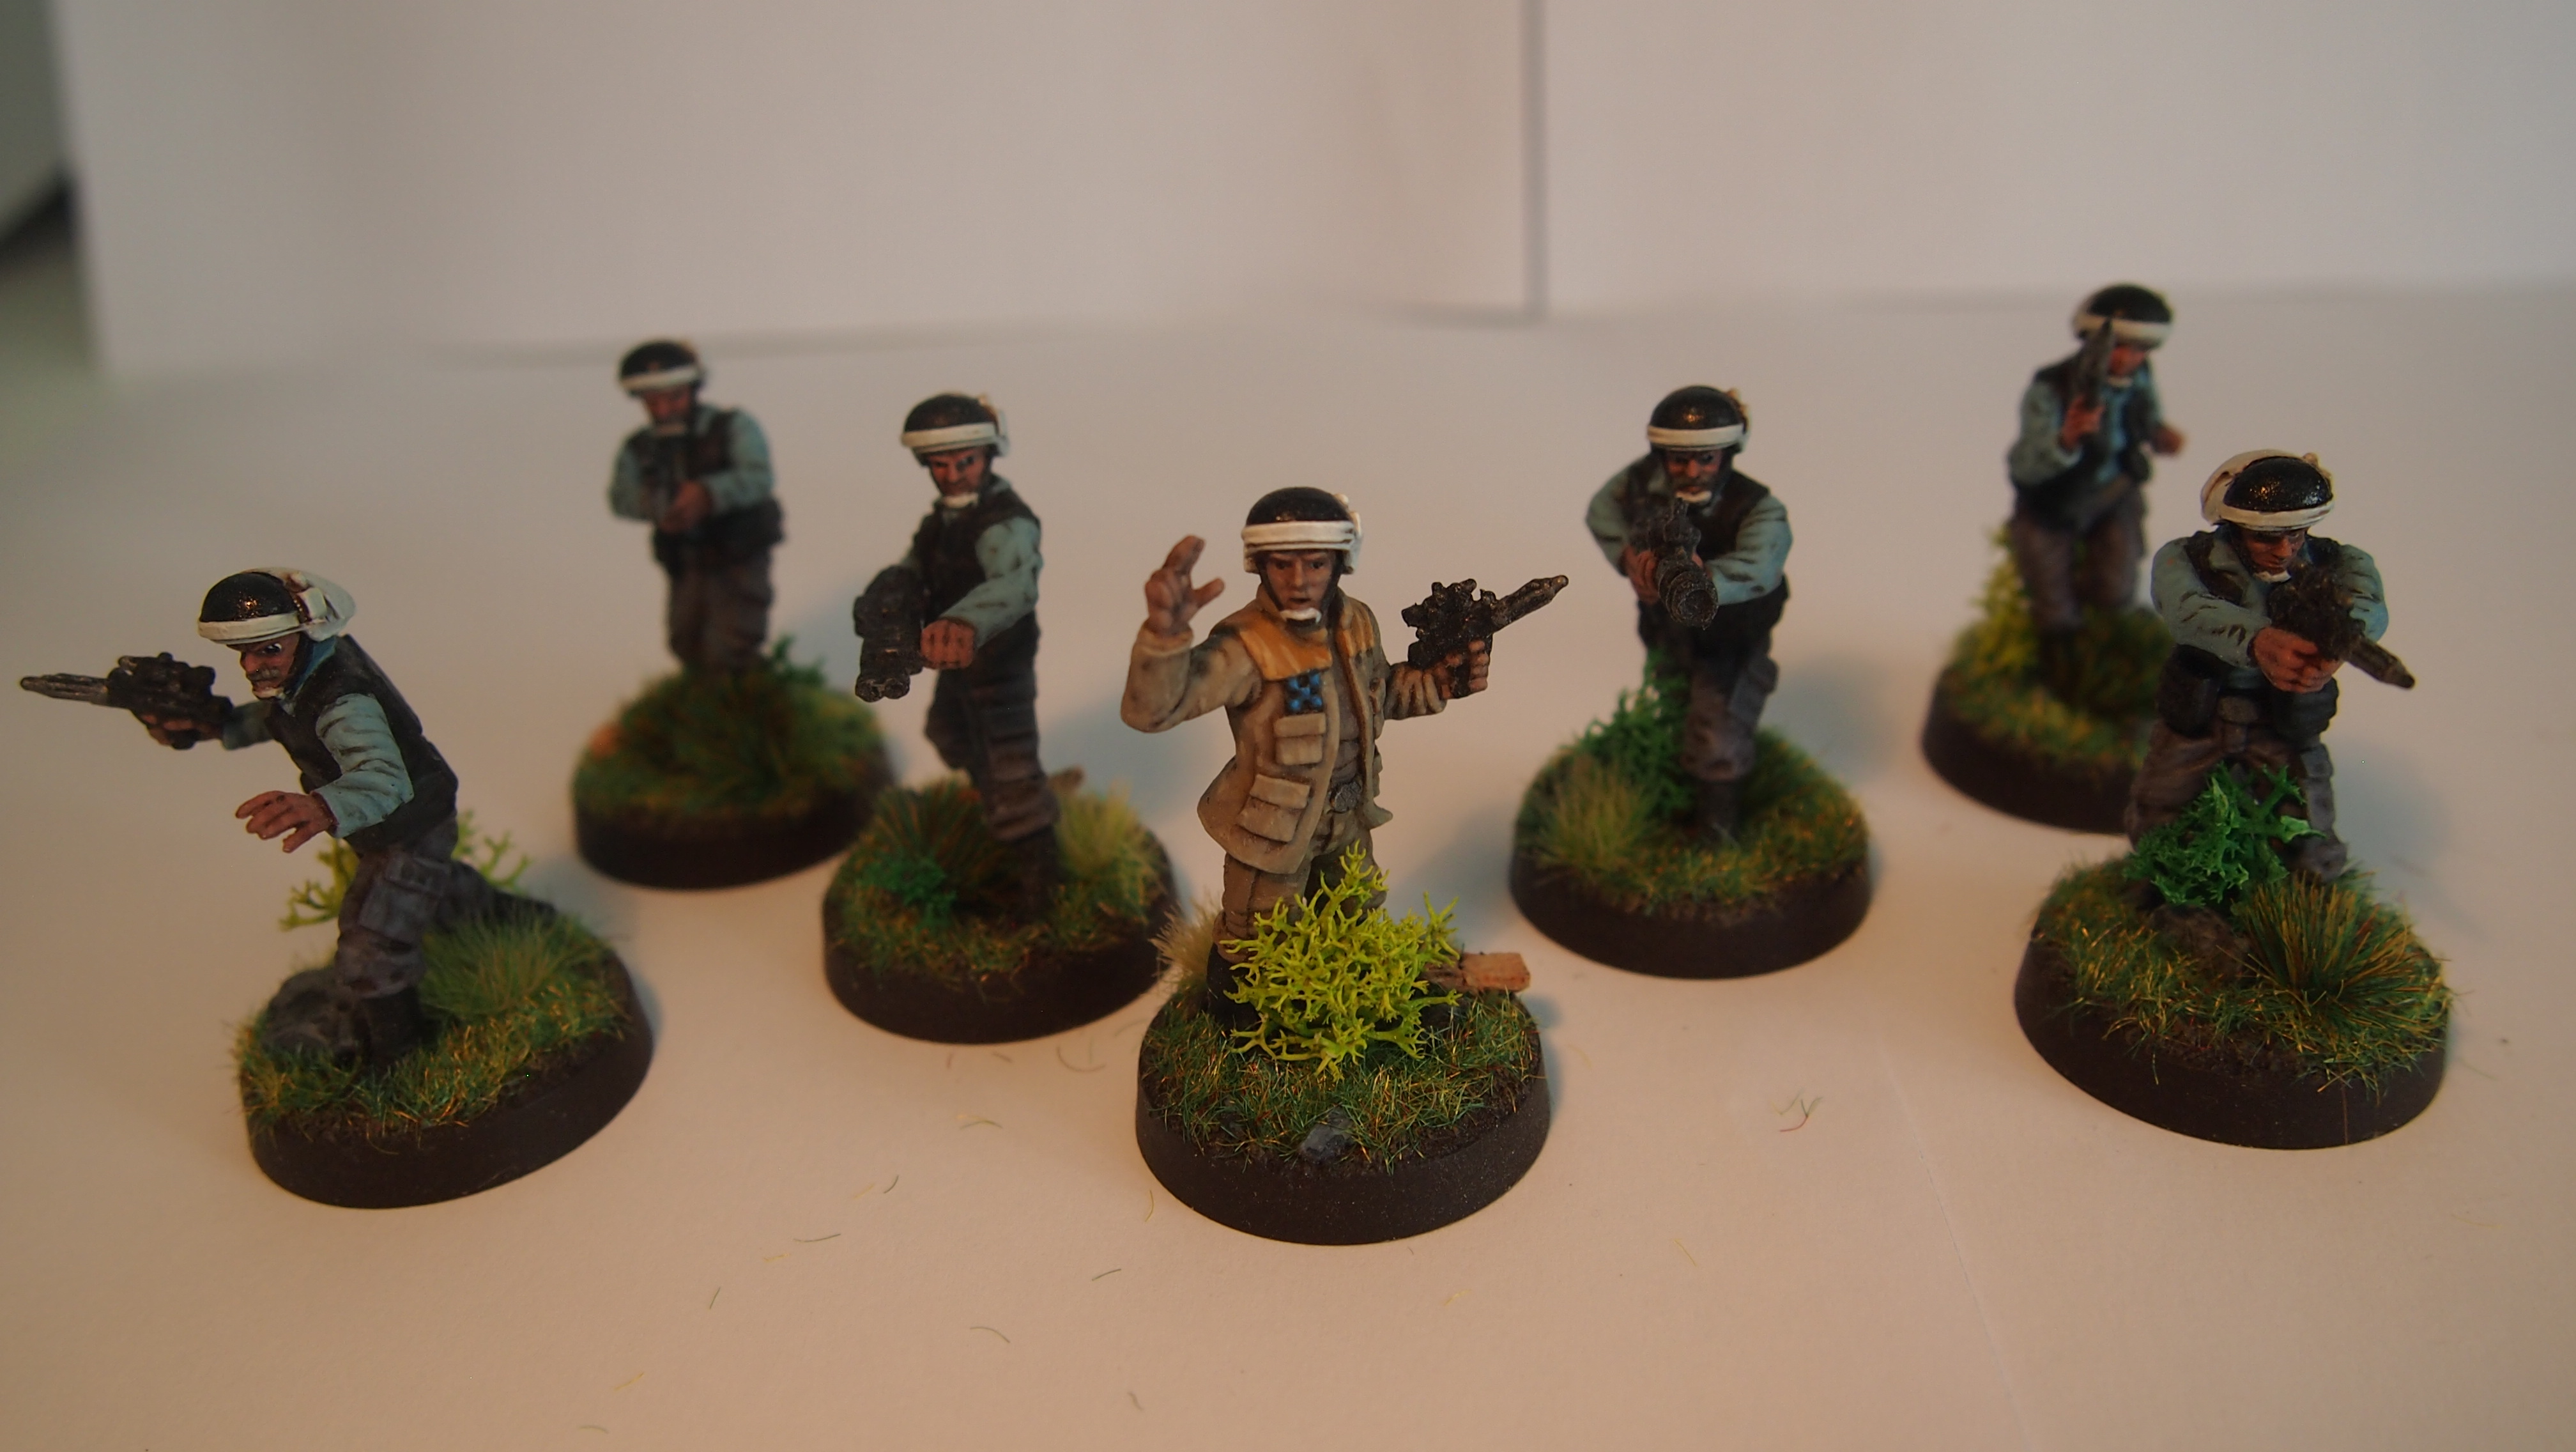
Rebel troopers – z-6 trooper, astromech 70p
Rebel troopers – z-6 trooper, astromech 70p
Rebel troopers – z-6 trooper 62p
Rebel troopers – z-6 trooper 62p
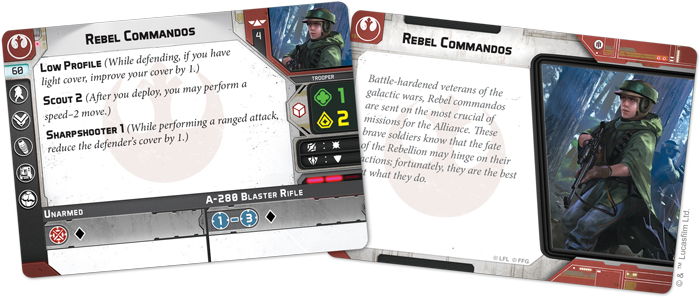
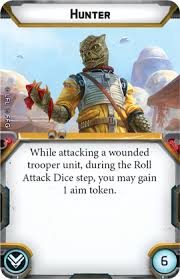
Rebel veterans – cm-0/93 trooper, rebel veteran, hunter 97p
Mark II medium blaster trooper 38p
Special forces
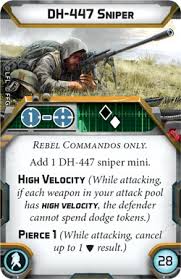
Rebel commandos strike team – dh-447 sniper 44p.
Support
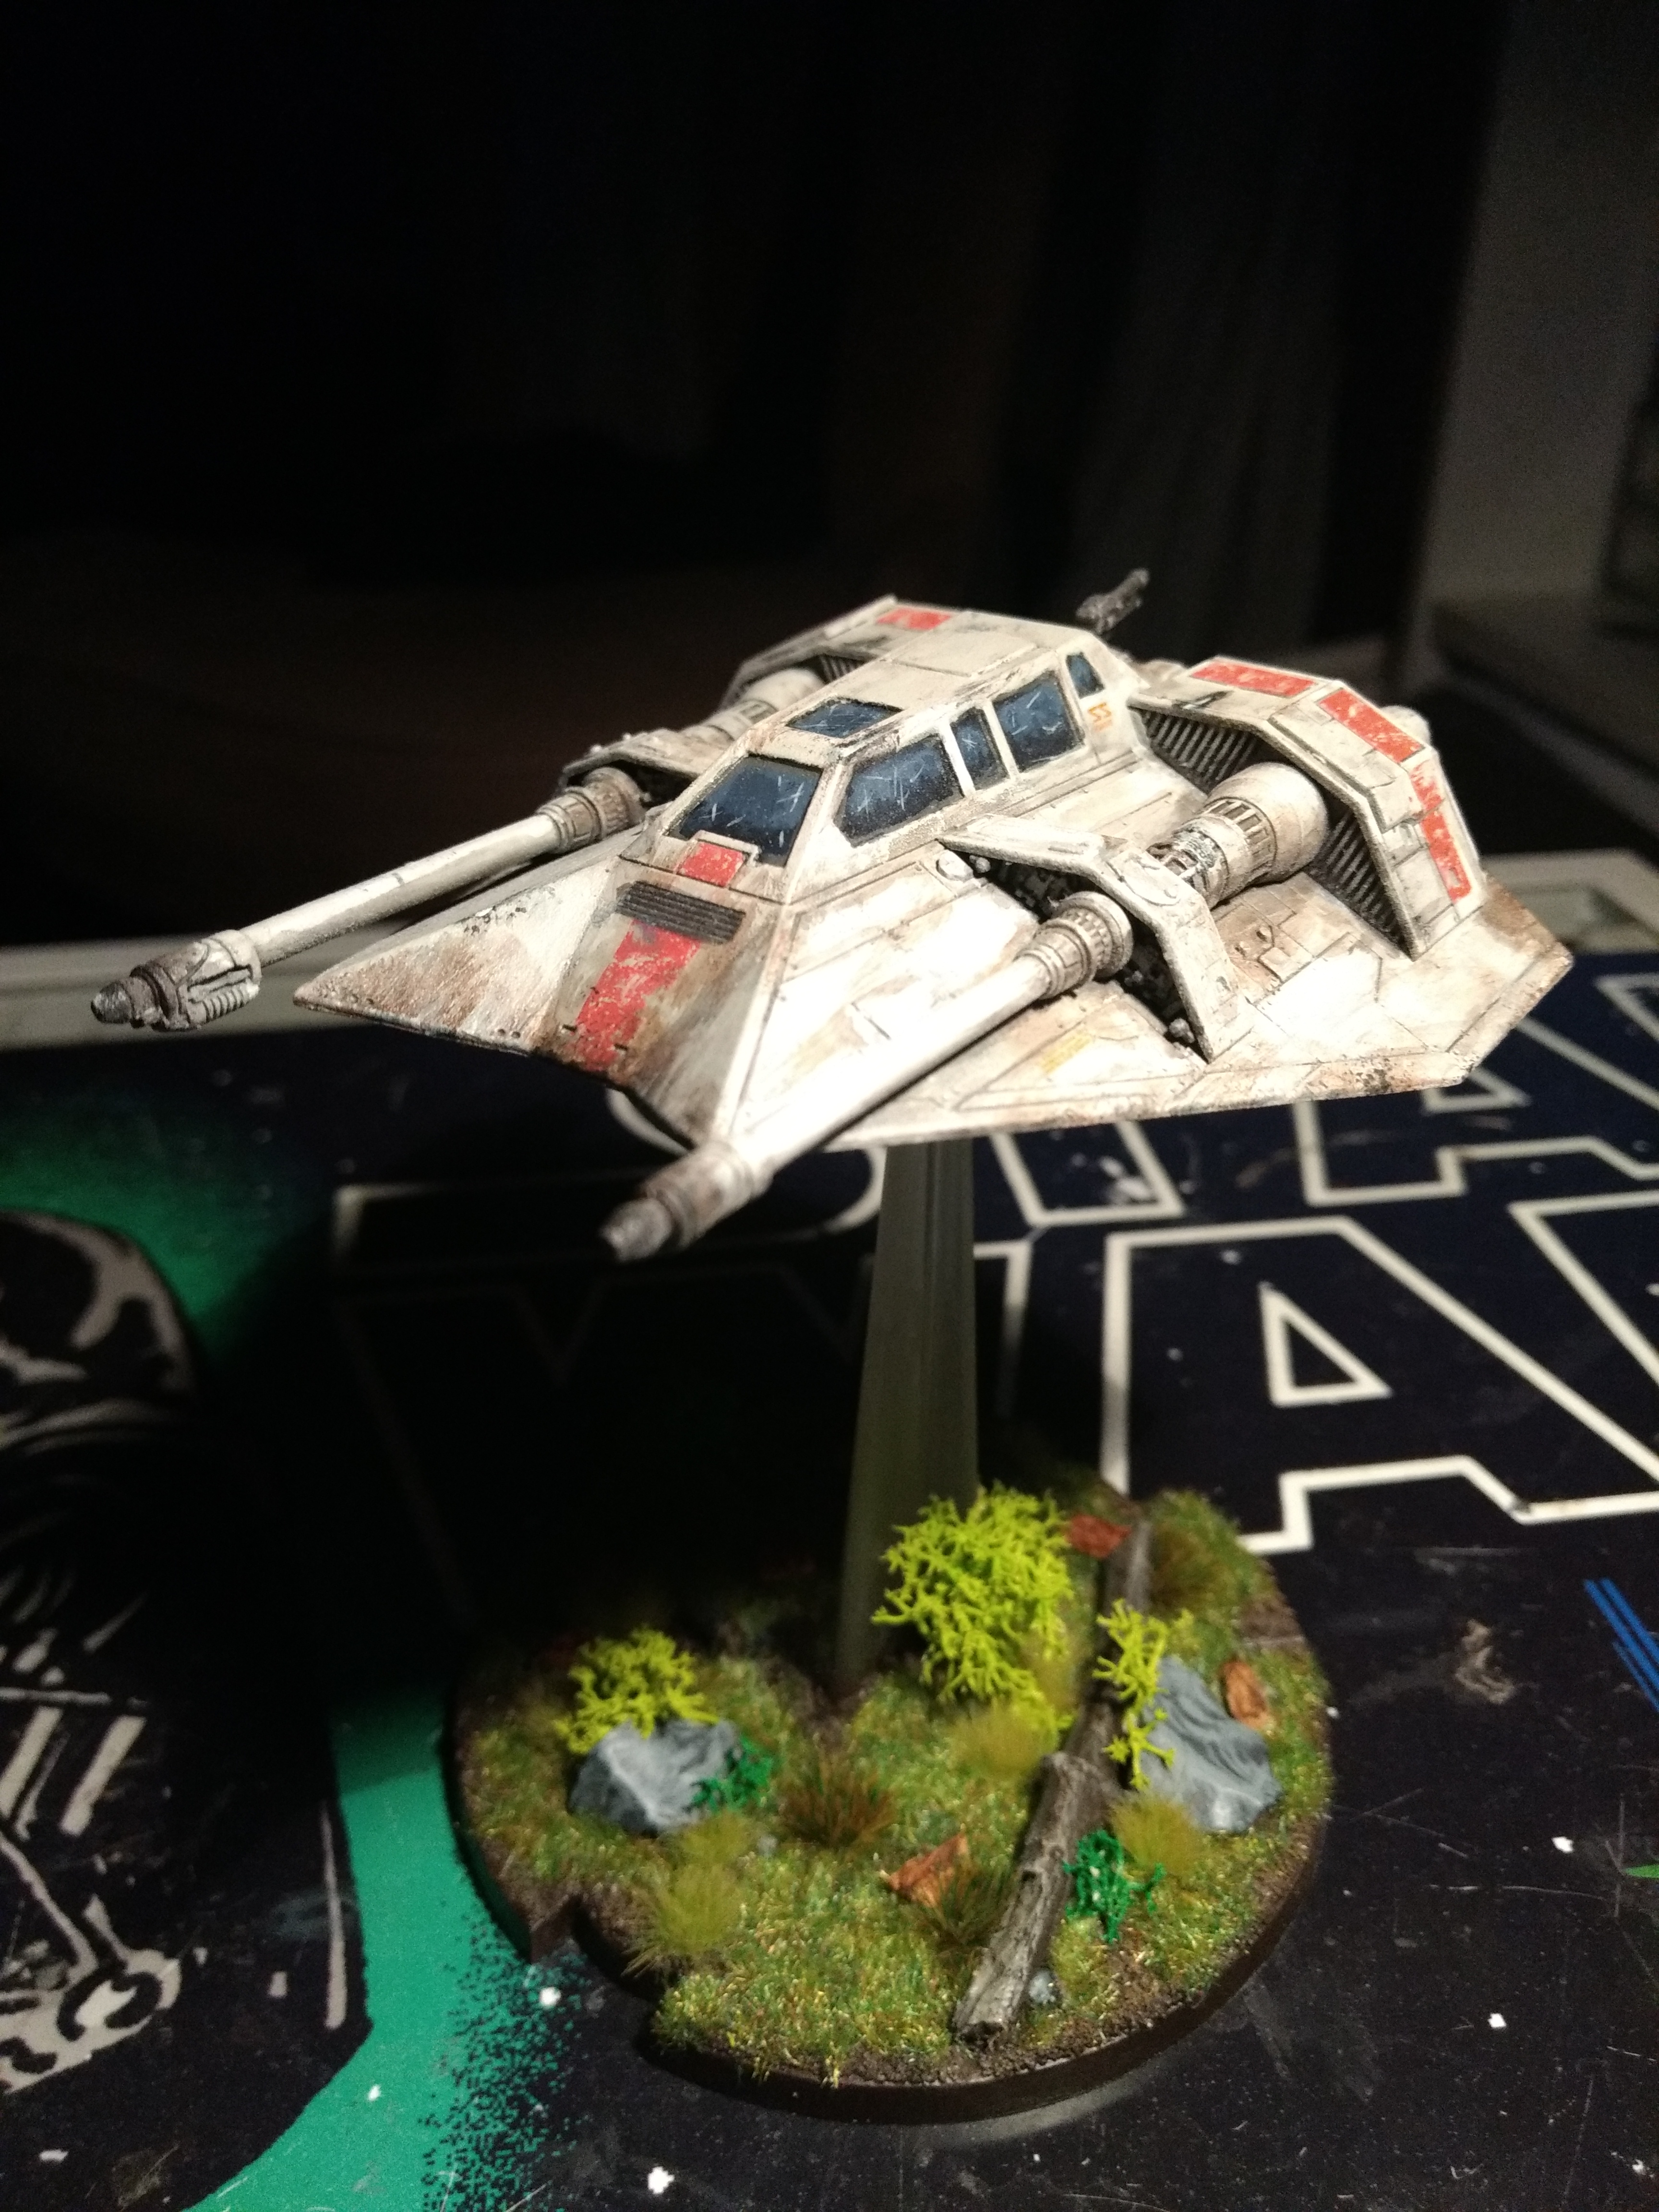
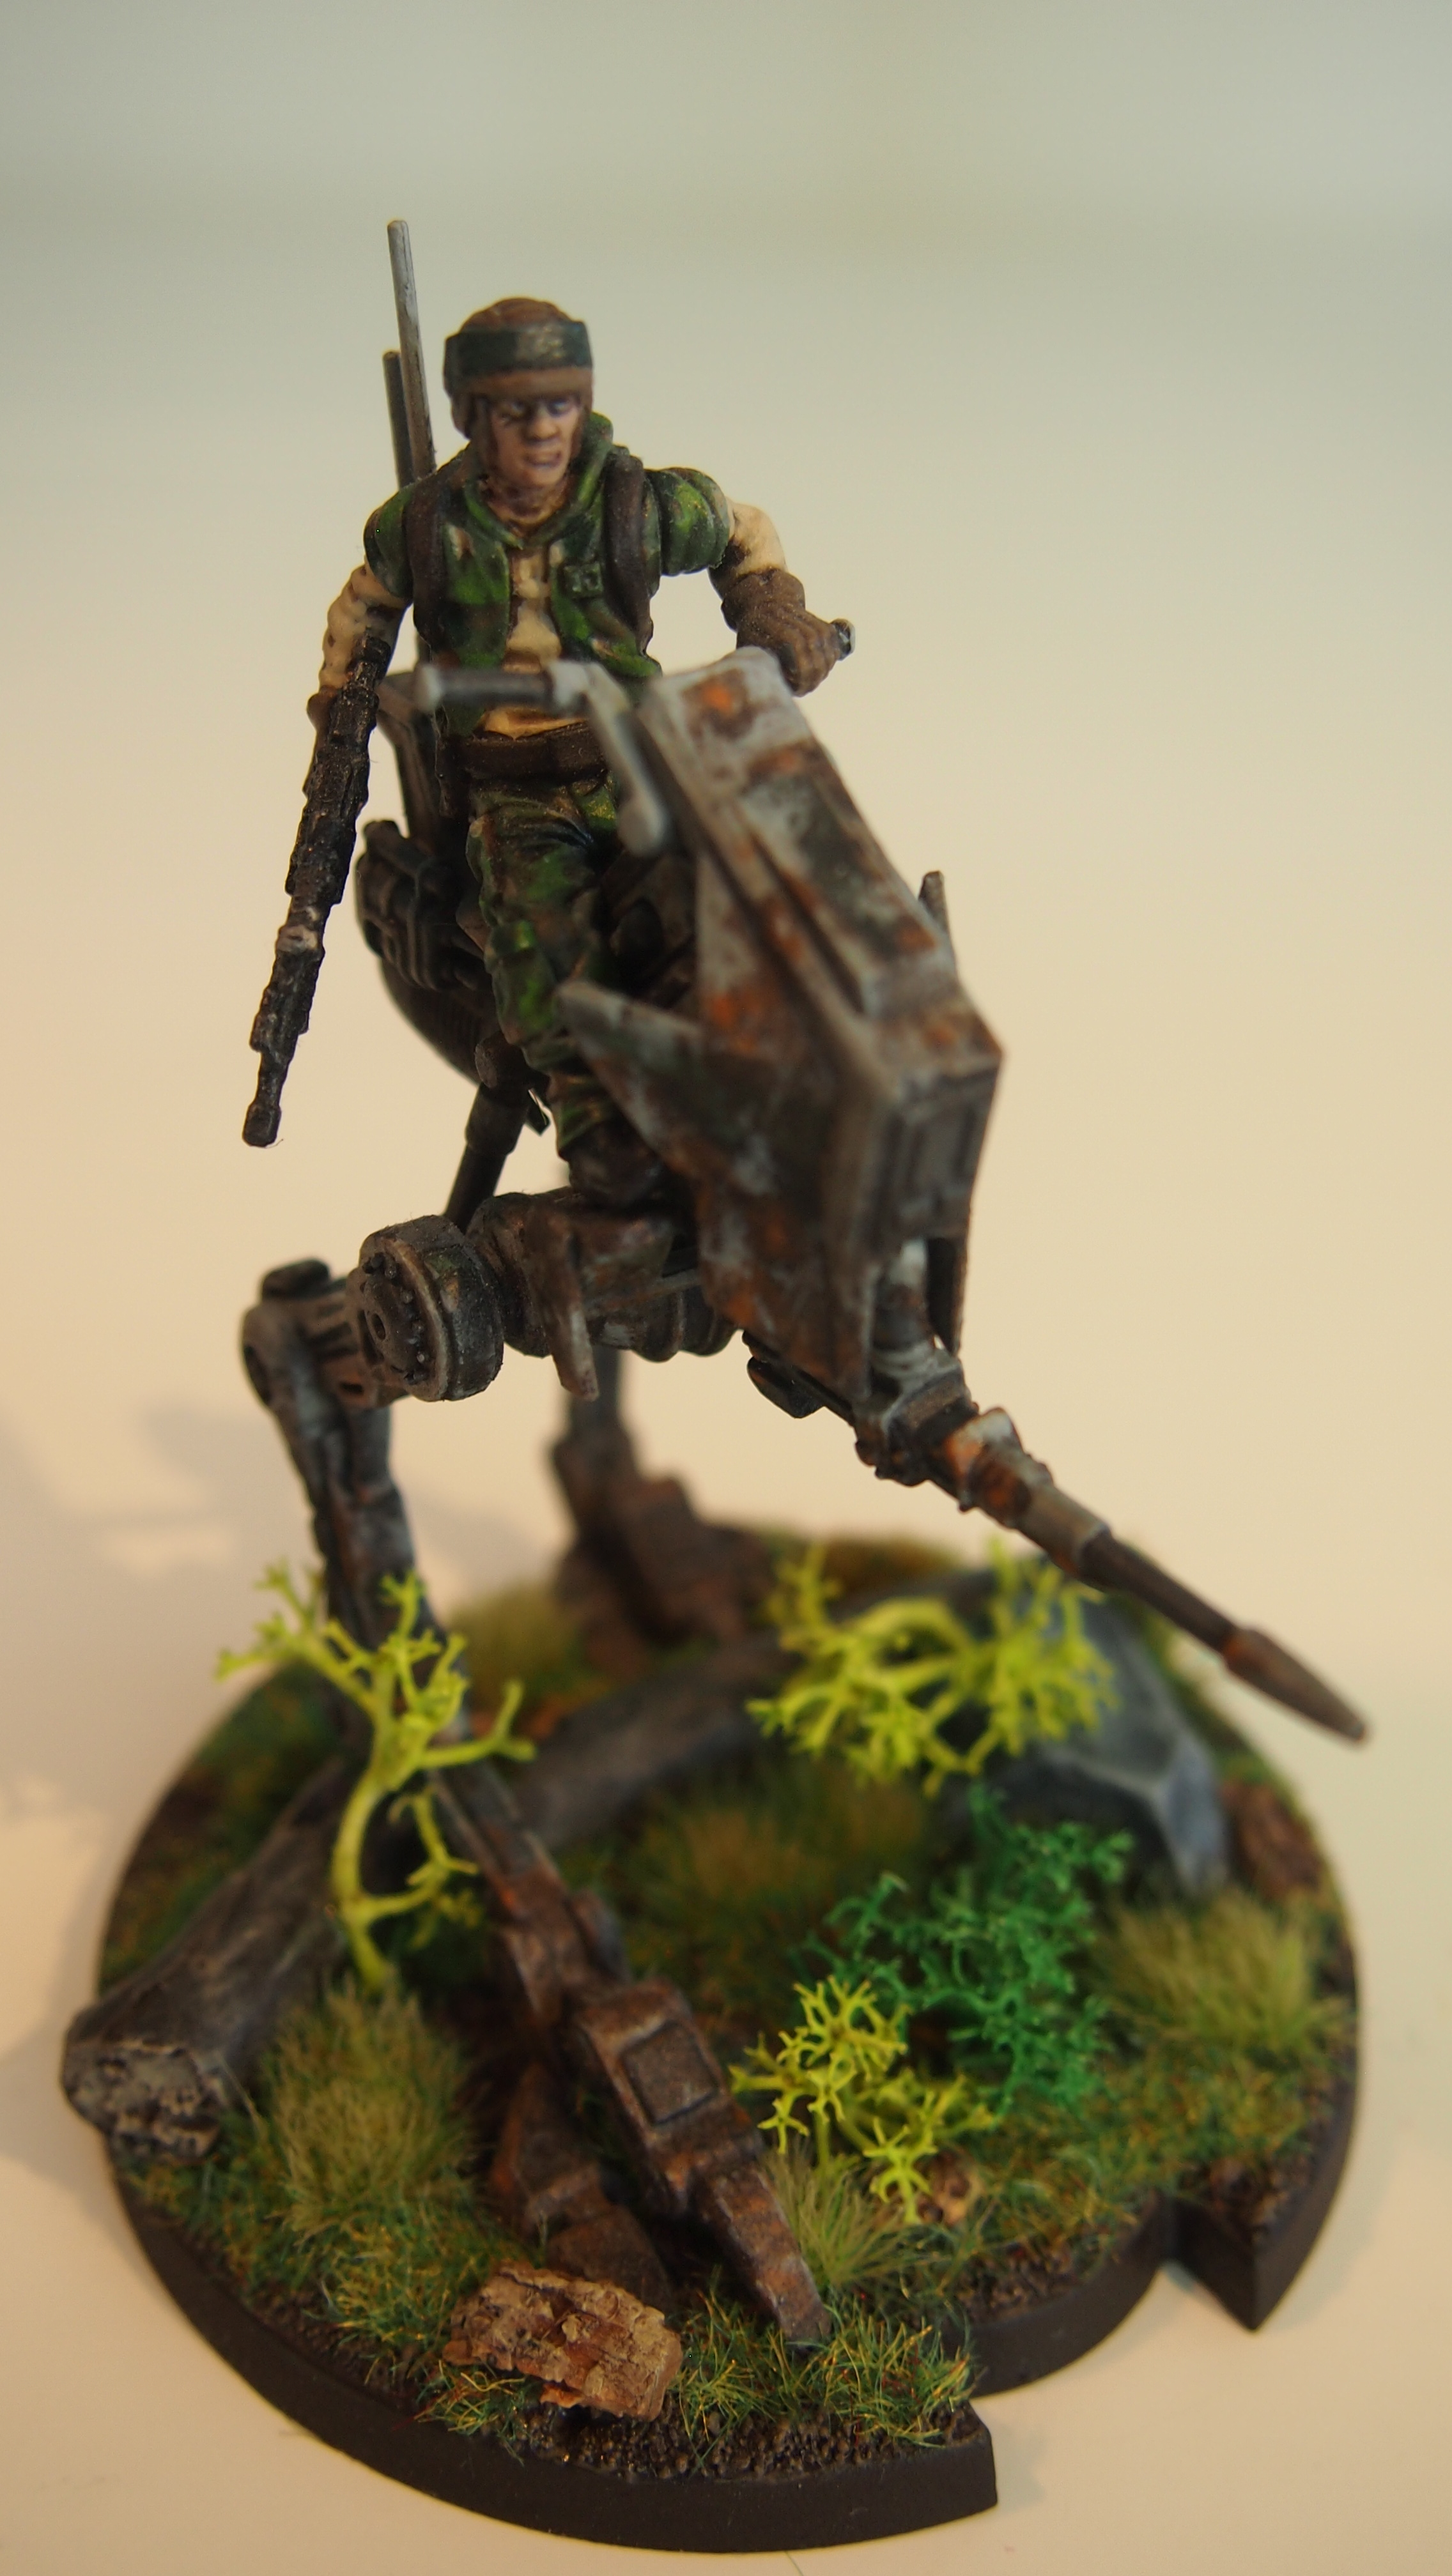
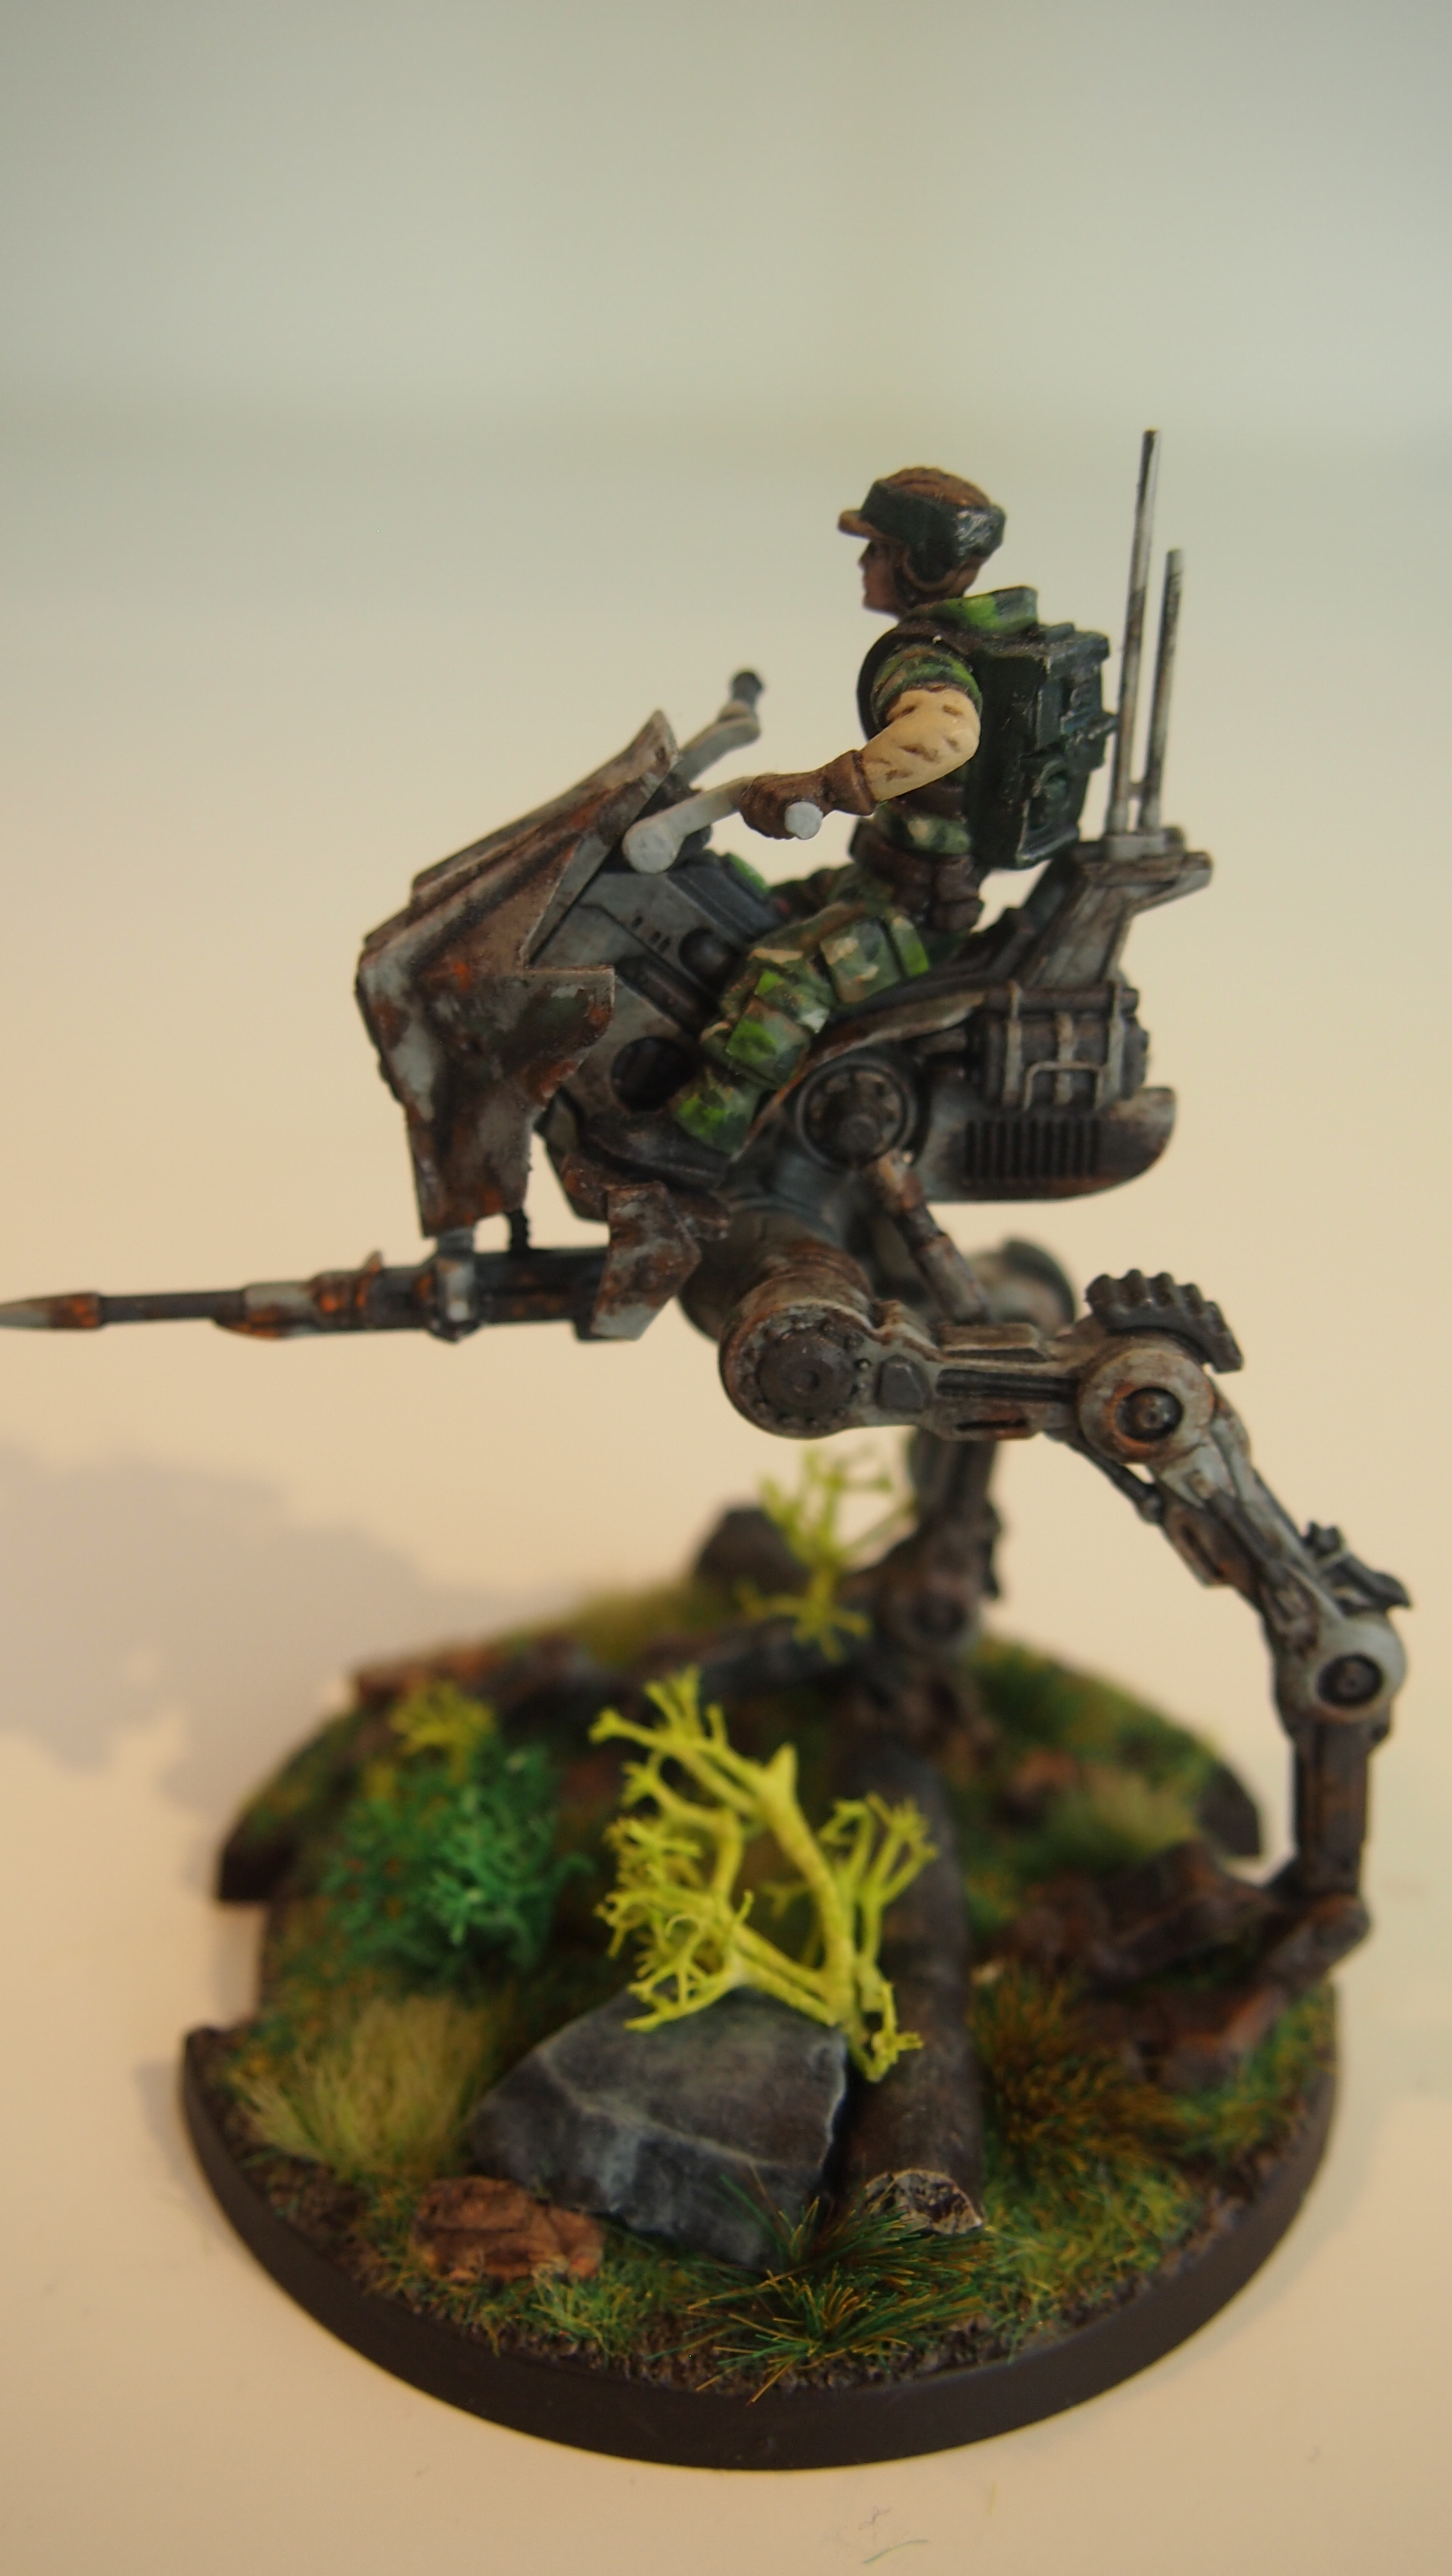
At-rt – flamethrower 80p
At-rt – flamethrower 80p
At-rt – rotary blaster 85p
I faced an imperial list led by Darth Vader with a Bossk operative. Supported by e-web teams and stormtroopers.
Empire 798
Commander
Darth Vader – force reflexes, saber throw
Operative
Bossk – Hunter, targeting scopes
Corps
Stormtroopers squad – dlt19 trooper
Stormtroopers squad – dlt19 trooper
Stormtroopers squad – dlt19 trooper
Stormtroopers squad – dlt19 trooper
Special forces
Scout troopers strike team – dlt sniper
Support
E-web team – barrage generator
E-web team – barrage generator
After a die roll my opponets chose to be blue player and we ended up with clear conditions, advanced positions and breaktrough. I had some luck with breakthrough coming up at the third spot so I could guarantee it, which favoured me with 12 activations against 9.

I deployed most of my units in the centre left, using the scout move from advanced position to get some squads further ahead. I put my rotary at-rt alone in the other end of my deployment with a trooper squad and officer in the centre. I thought a reserve of 3 units with inspire support was a good idea for the breaktrough objective. The rotary at-rt was gonna walk straight into the imperial deployment zone from the flank, firing as it goes.


The empire focused most of their units around the crashed at-st and barricade line where they had a great line of fire to a large area and put 2 trooper squads on the left flank.


Round 1
Command cards
Assault vs Lying in wait

I wanted to save my flamer at-rt’s to last so they don’t take too much damage, I also gave order to my veterans to get the free dodge as well order token to my emplacement trooper. The empire had no choice, but to give order to Bossk who sat and got all the aim tokens.


The empire started with a nice 2 wound sniper shot at my backline officer. I followed with a great z-6 squad opening, dealing 3 wounds on the closest e-web.


This squad kept over performing and managed to duck so much fire that came their way, surviving with a dodge token gifted by my rebel officer. We traded a few long range shots, not doing much damage and the at-rt’s started to advance.

It was my first time playing against Bossk and oh man, can he store aim tokens. He waited for good shot at my at-rt which the stormtroopers tried to soften up with a dlt. Luckely I managed to repair it with one of my astromechs.

Bossk finally had to activate and he crawl forward and decided to take his shot at my closest flamer at-rt. It was amazing to whatch, it was just re-roll after re-roll until he had his 5 crits. Putting 5 wounds on the at-rt it got damaged, but I repaired it putting it at 4 wounds at the end of the round. Bossk with targeting scopes was scary, if he re-rolls that much he would completly bypass any dodge and guardian.

End of round
If felt happy with the first round. The empire didn’t make much progress across the board while my forces moved quite a bit for a single turn. While the sniper shot that took out half my officer in the back was disheartning, my z-6 squad was mvp this round. Dealing 3 damage and despite being shot by 3 attacks lost nothing. My opponent focused alot one of my flamer at-rt which worked in my favor thanks to the astromech healing. The plan was for Bossk to burst it down which would have changed alot.


Round 2
Command cards
Covering fire vs Reptilian rampage

This round I wanted to keep reparing my walkers as well as use the covering fire to advance in the open area between my position and the forest. I gave order to my 2 astromech squads as well veteran + emplacement again. Empire of course gave order to the rampaging Lizard. The empire first activated a random and got a corp order which they used to put their far left stormtrooper squad outside of at-rt walk-fire range and put 2 wounds on it with their dlt supported attack. I activated one of my astromech squads to repair my at-rt up to 3hp and attacked the e-web dealing no damage, but giving out a dodge token to another squad due to covering fire.

Here is when my opponets were really unlucky with Bossk. They had a plan to double tap my at-rt with 3 hp left, providing they got a crit on the first attack they could pierce it trough my save and then use their aim token on the second attack to hopefully get 2 crit on the second attack and drop the at-rt. However they roll 5 blanks on their first attack so they decided to attack my trooper squad with the second to push on the supression. 3 hits after aim sadly got denied by cover and my dodge token.

In this game I really got value from my astromechs, I activated my second astromech squad and repaired the last hp I could giving my at-rt effectivly 10hp instead of 6. Then they rolled amazing and killed the 1hp e-web.


4 natural hits with a z-6 is average right?
Then it was time for Vader to show his troopers how it’s done, he walked into position behind the barricades and drop 2 soldiers with his saber throw.

My acrylic tokens went out, coincidence?
My at-rt went into position for a next turn stormtrooper barbecue. My other one lost his first action and just walked up against vader. next I finally got to use fire support with my veterans. Despite throwing 9 black dice with aim I only managed to put 1 wound on vader and got one wound deflected due to his forces reflexes.


End of round
My flanking trooper squad and rotary at-rt kept advancing and dropped a strormtrooper or 2. Thing were locking okey for me, but I was scared of having vader so close to my lines. I had the advantage, but if I can’t stop Vader then this will be a short breakthrough.

Round 3
Command cards
Ambush vs Master of evil

I expected master of evil, but I thought that they might play implacable as well so I played it safe with ambush. I issued order to my veterans and emplacement trooper while Vader got his order and a dodge tokens as well as an e-web and Bossk. My first Fire support activation again only pushed trough 1 dmg on Vader, fire with hunter veterans feels powerful, but the force was with the dark lord of the sith this day.

Vader activated and gave me a total of 12 supression tokens! He then crushed my flamer at-rt with saber throw. I followed that with a randow draw support, Flame on. After aim-shoot I got a very average 7 hits on the 5 troopers and their armor was useless.

The rest of the fight on the left flank wasn’t very dramatic. Most of my troopers had 3+ supression and I needed to start moving if I wanted to reach the enemy deployment zone so I ignored the dodgeless Vader. My backline officer had walked into range enough to use his inspire which combined with my other officer and at least 1 succesfull rally each time prevented my units from panicking despite e-web and Bossk supressive attacks. My flamer at-rt got another 2 wounds and was also damaged.


End of round
My flank units continued towards the enemy line and finished of the rightmost stormtrooper squad. After removing supression tokens during the end of the round I felt pretty safe. I understand how this imperial list could be panic central when combinding supressive weapons with master of evil. I had some luck with activation order to use inspire as well as at least rally 1 token each rally step,

Round 4
Command Cards
Push vs Implacable

I gave order to my veterans + emplacement once again as well as my officer. Imperial gave it to Vader.


Vader started by walking to my right flank and cut down 2 troopers with his saber throw and took one damage to put back his order token via implacable. My trooper squad responded by fire back, as standard for my gammorean z-6 trooper he rolled 3 crits + 1 hit :). However vader was really implacable and blocked every bolt with his saber.


Meanwhile on the left flank the shooting gallery continued. The rebel forces ran trough the woods towards the edge of the battlefield, while the veterans setup in a covering position in the forest. Thanks to the heavy cover and diminishing imperial troopers casualties was minimized. However my 2nd flamer finally went down.

End of round
On the right flank my rotary at-rt blasted the imperial strike team and Vader finished of the foolish troopers that shot at him and walked towards the rebel officer. My sniper team managed to put 1 wound on Vader. I felt like I had a pretty good chance of placing 2 units in the enemy deployment zone. The empires chance is to stop me from putting more than 1 unit and pick up the bounty on my Twi’lek officer forcing the game to points which the empire would probably win thanks to the huge amount of points stuck in Vader&Bossk.


Round 5
Command cards
Turning the tide vs Merciless Munitions

The empire could only give order to Bossk and I had only my rotary at-rt left. I was a bit disconserned when I saw the Bossk grenade card, I had totally forgot he had grenades. Luckily for me Bossk was just a bit to far away to hit several units with the grenade, If he was about half a speed 1 move closer he could have gassed 3 units.

My emplacement trooper stayed behind to cover my advancing troops and dropped 2 troopers, sadly the e-web survived my rotary at-rt and could keep the barrage generator on while pounding my troopers, that combined with bossk grenade attack I had only 3 trooper leaders + 1 astromech left of my troopers.


Quick hide behind R4 
End of round
Vader did a sweet curved saber throw cutting the at-rt in half down to 3 wounds and my right flank was starting to look battered. Going in to the last round I felt that my offices was already dead due to vader being so close and the at-rt could be taken down by the last stormtroopers + e-web. However I felt that my strike team was garantueed to make it into the deplyoment zone and live through the round. On the left flank I had to put at least 1 unit in the enemy line, if Bossk managed to drop my officer it would be clutch due to the fact that my troopers could not stay supressed since they all needed 2 moves to make it across.
Round 6
Command cards
Sabotaged communications vs New ways to motivate them

I gave my order token to the only available special forces while my opponent gave it to Vader an Bossk. My first activation was a random drawn commander, I activated my twi’lek inspired a trooper squad and ran into the goal zone.

Here I have to tip my hat to my opponent, he did a very cool manouver with Bossk thanks to the extra action from Vaders card, he was very close to turn the game. Bossk used his unhindered to jump over the x-wing wreck and fired with an aim token from hunter on my rebel officer who now lacked any unit in range to use guardian. My officer just managed to duck enough wounds to surive and deny Bossk his bounty. Bossk then ran into melee with my veterans stopping them from walking as well and regenerated the wound lost for the extra action. Wow it was a great activation, if it had worked he would have denied me 2 victory tokens while gaining 1.

His lone stormtrooper put a supression on my closest leader preventing him from double move, the e-web survived my rotary blast with 1 wound and then killed my second closest leader. My veterans used their hunter to club Bossk down to 2 hp.

Vader walked up and cut of my officers head with his saber throw, while my sniper team walked into the victory zone and popped another wound on Vader.

End of round
Now if Bossk had taking his bounty the score would have been 2-1 and his last stormtrooper squad could aim-shoot my at-rt and hope to drop it, in that case my last supressed trooper leader had a 1/3 of winning the game for me. However Bossk just missed it and the stormtrooper couldn’t get 3 crits. My supressed leader didn’t rally so in the end the rebels won 3-0, the final score dosen’t really paint a fair picture of the full match and it could have turned the other way easily.

After battle report
It was fun to play with all my new terrain pieces and I think that this list worked a little better than the last version. While I didn’t get to be blue player I got a very lucky mission to play with 3 more allbeit weaker activations. I felt that the veterans with hunter + emplacement fire support worked well in theory, but they did a total of 2 wounds despite rolling a total of 18 black dice with aim in their 2 attacks. I think fire support have great potential and I think my choice to hold them back worked in their favor to not get focused early and the hunter gave me a total of 3 aims during the game and it could have been 4 if I didn’t have to run towards the deployment zone.
RNG
I felt that the dice was in my favour in the start of the match. My z-6 squads delivered 4+ hits almost every attack while the average is 3.5. The early 3 wounds on the e-web did alot since the double barrage generator combined with master of evil is an great combo against rebels. My opponent focused my at-t’s which I think was smart looking at the huge damage just one of them did, however due to below average rolls I was given plenty of time to repair. I think that the biggest rng swing was with Bossk. My opponent gave him targeting scopes and he gained a ton of aims during the game either from hunter or actions, despite that he rolled pretty poorly espechially in important attacks like the 2 wound at-rt and the bounty officer.
List building
I was suprised when I saw targeting scopes on Bossk as this card have recieved it fair share of negativity, but dang he used it alot during this match. For my own list I felt that swapping 2 rotary to flamers made them more of a threat and they tanked alot of damage this game, while I could use my astromechs to their fullest and reparing 4 wounds. The double officer still works with giving me a great command range as well as precise inspire and extra activations. However despite guardian, they are very squishy and the risk is giving away bounty. I think double officer works, but maybe Leia is so pass powerful that her with commanding presence and esteemed leader might work better or just as well. 2 officers is essentially splitting Leia in 2 while loosing her command cards. This was also my first game with veterans and I like them, they feel more like a special forces unit than corps unit and the fire support with the medium blaster was scary even when it failed against the Vader tank this game. The drawback is that you often feel forced to give them an order due to the coordination order to enable fire supprort and get the free dodge token.
Battleplan and tactics
The plan was pretty simple, place a massive blob to run behind the fire chickens that tanked enemy fire. Hopefully get enough units to the enemy line. The backline deployed force worked very well even though they spend 2 turns just walking, having fresh troops arriving at the enemy flank was great and it forced my opponent to decide where to focus his troops. The fire chicken tanks work great with my astromech squads. However I must pay more attention where my command range ends, I had a opportunity to play turning the tide vs master of evil, but one of my at-rt was just out of range.
Happy to write another battle report and I find that going through the match a day after, looking at pictures you get to reflect on the match. Somethings looked more even than it felt and you see what misstakes you avoided or did during the match as well as to get a clear picture of how different units delivered. If you like my stuff pls consider supporting me on patreon: https://www.patreon.com/Rebelsguide
Next time I think I will try some tauntauns or perhaps Sabine, see you then.