Tournament report
I played a list with Leia supporters by a bunch of heavy infantry and double coms jämmer tauntauns.
I played 3 very fun and tense games, sadly I lost the last round and didn’t take a spot in the top 2 finals ending at third. A third place is nothing to feeling bad about, but it is the worst tournament score for me in Legion so far. I tried to take pictures and write some notes, but with 2 hour rounds, I didn’t wanna take to much game time. Here I present a tournament report from my perspective and some thoughts on the current standout units as well a tease for my next unit analysis.
My list came in at 796 point and gave me blue player every game.
++ Standard (Rebel Alliance) [796 Points] ++
+ Commander +
•Leia Organa [103 Points]: Commanding Presence, Environmental Gear, Esteemed Leader
+ Corps +
Mark II Medium Blaster Trooper [43 Points]: Comms Relay
Mark II Medium Blaster Trooper [43 Points]: Comms Relay
Rebel Troopers [62 Points]: Z-6 Trooper
Rebel Troopers [58 Points]: 2-1B Medical Droid
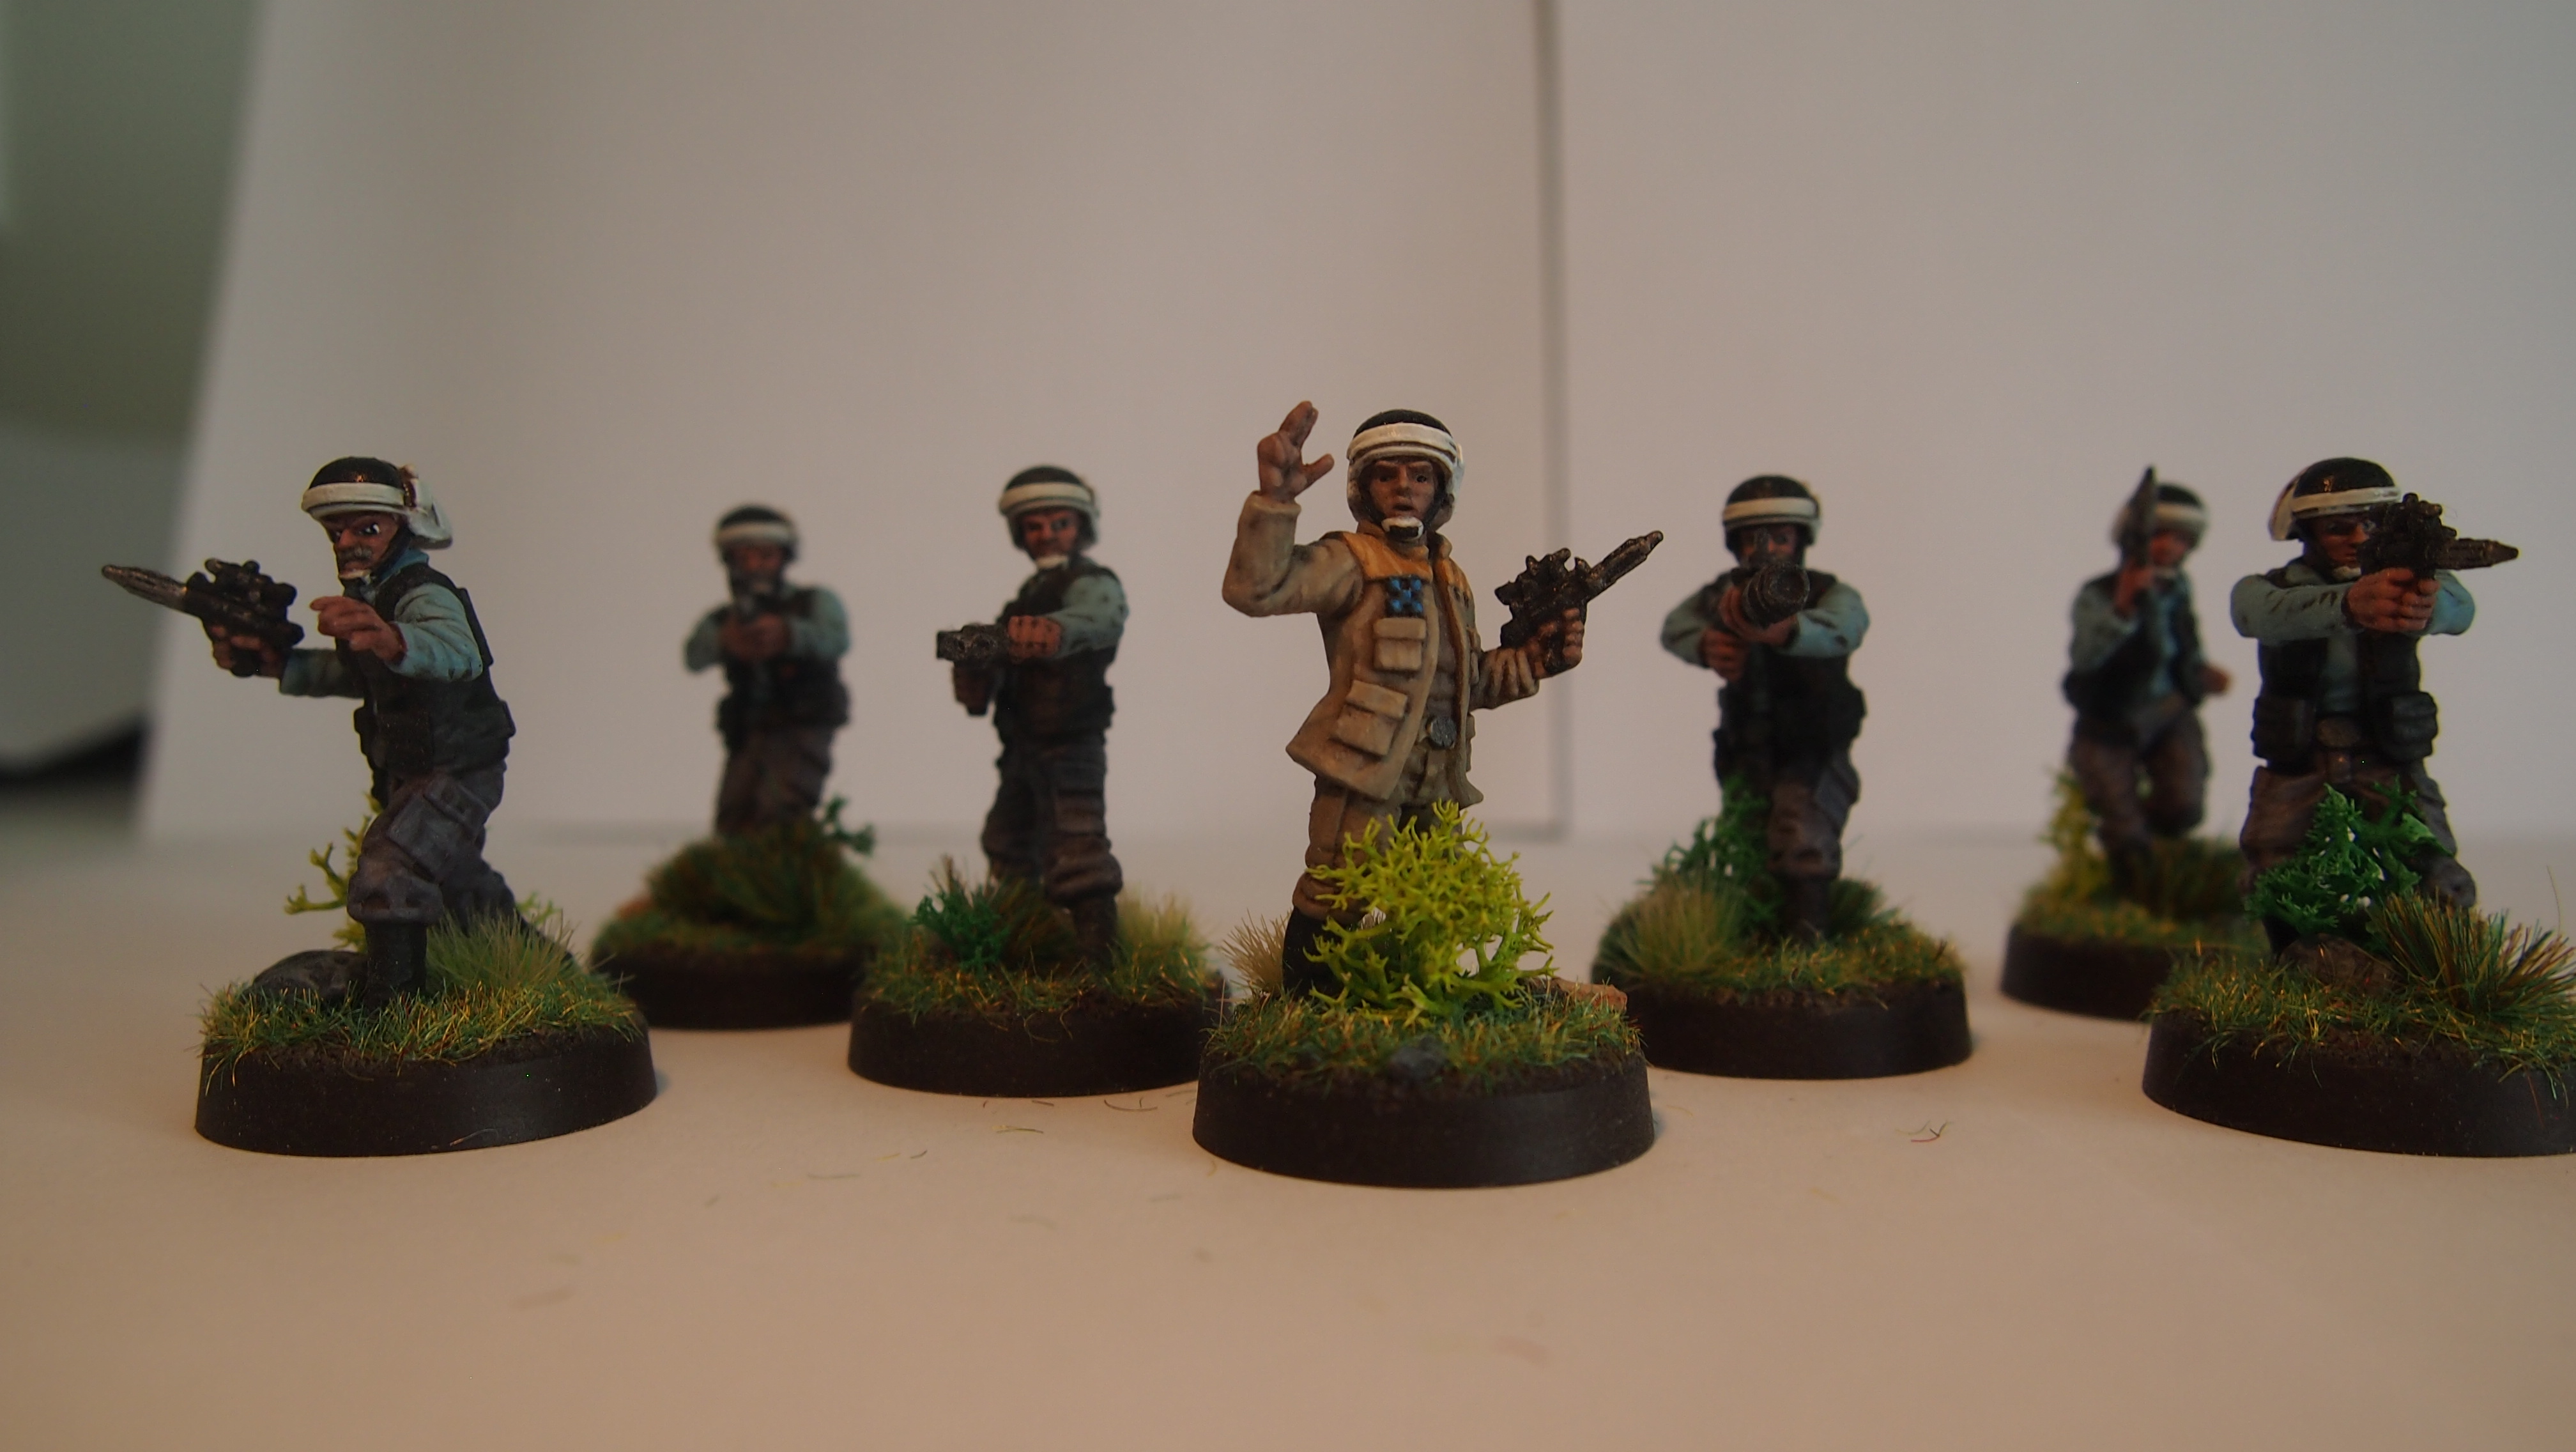
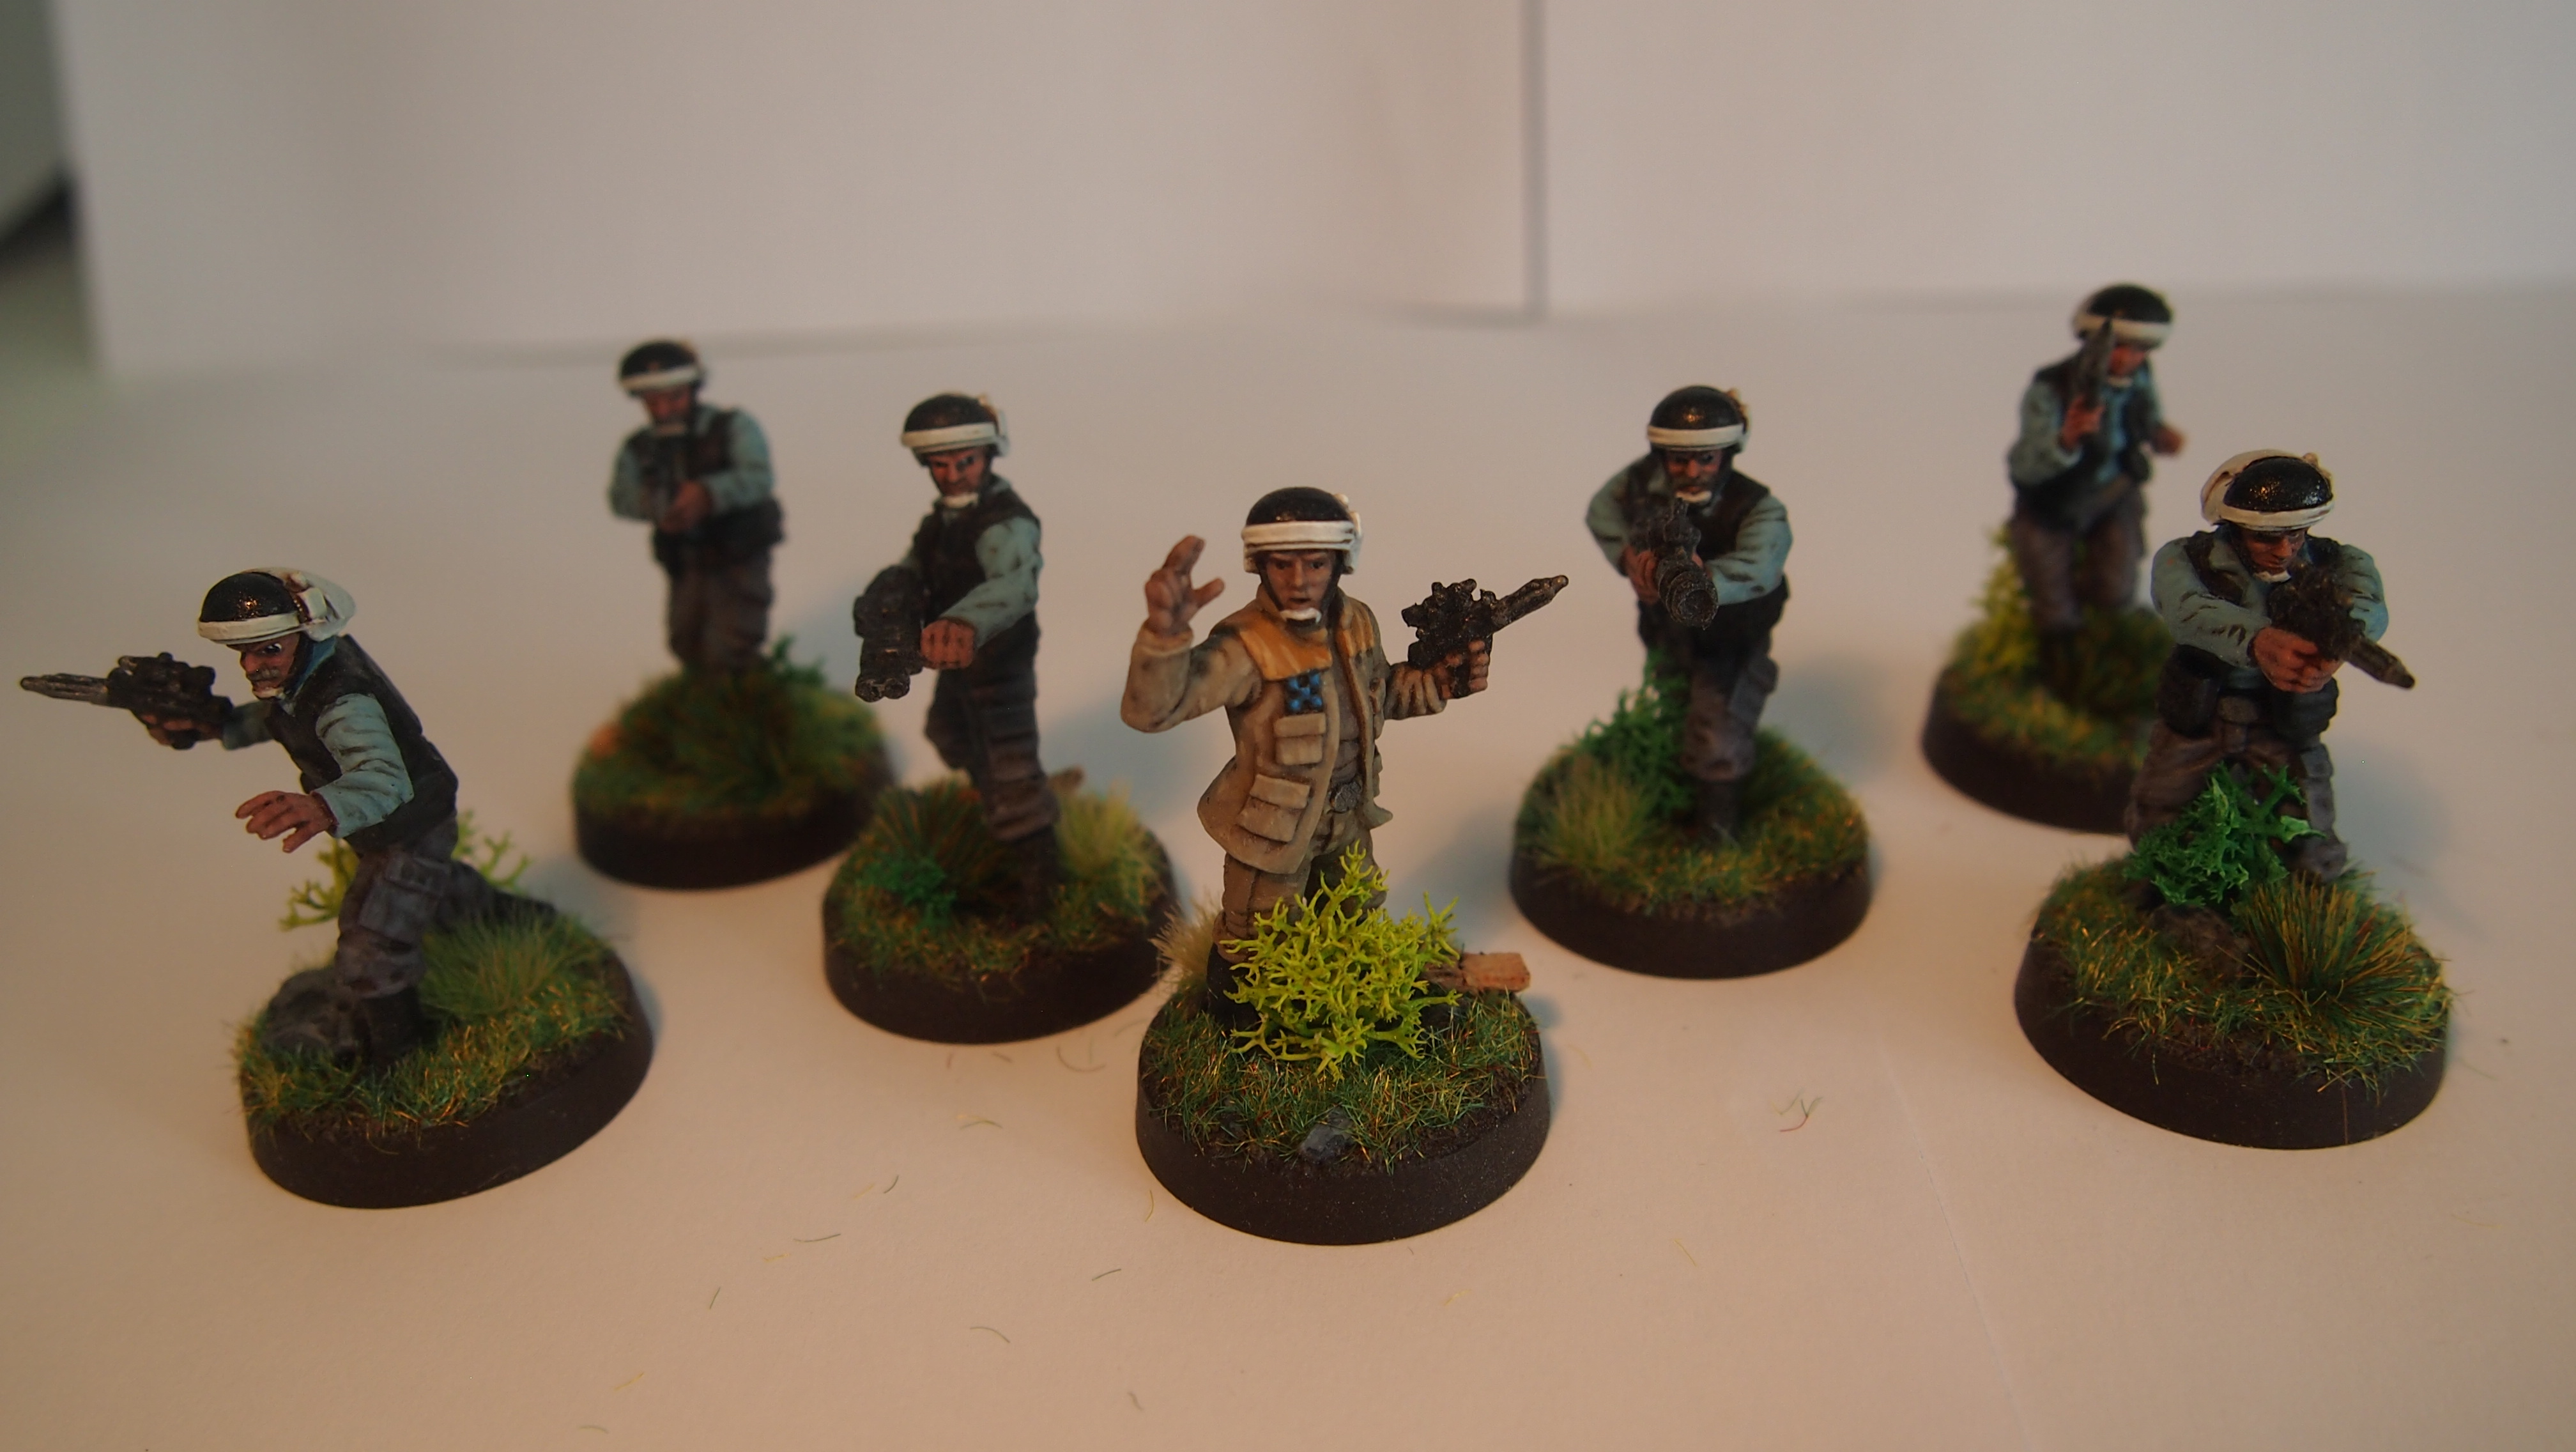
Rebel Veterans [92 Points]: CM-O/93 Trooper, Hunter, Rebel Veteran
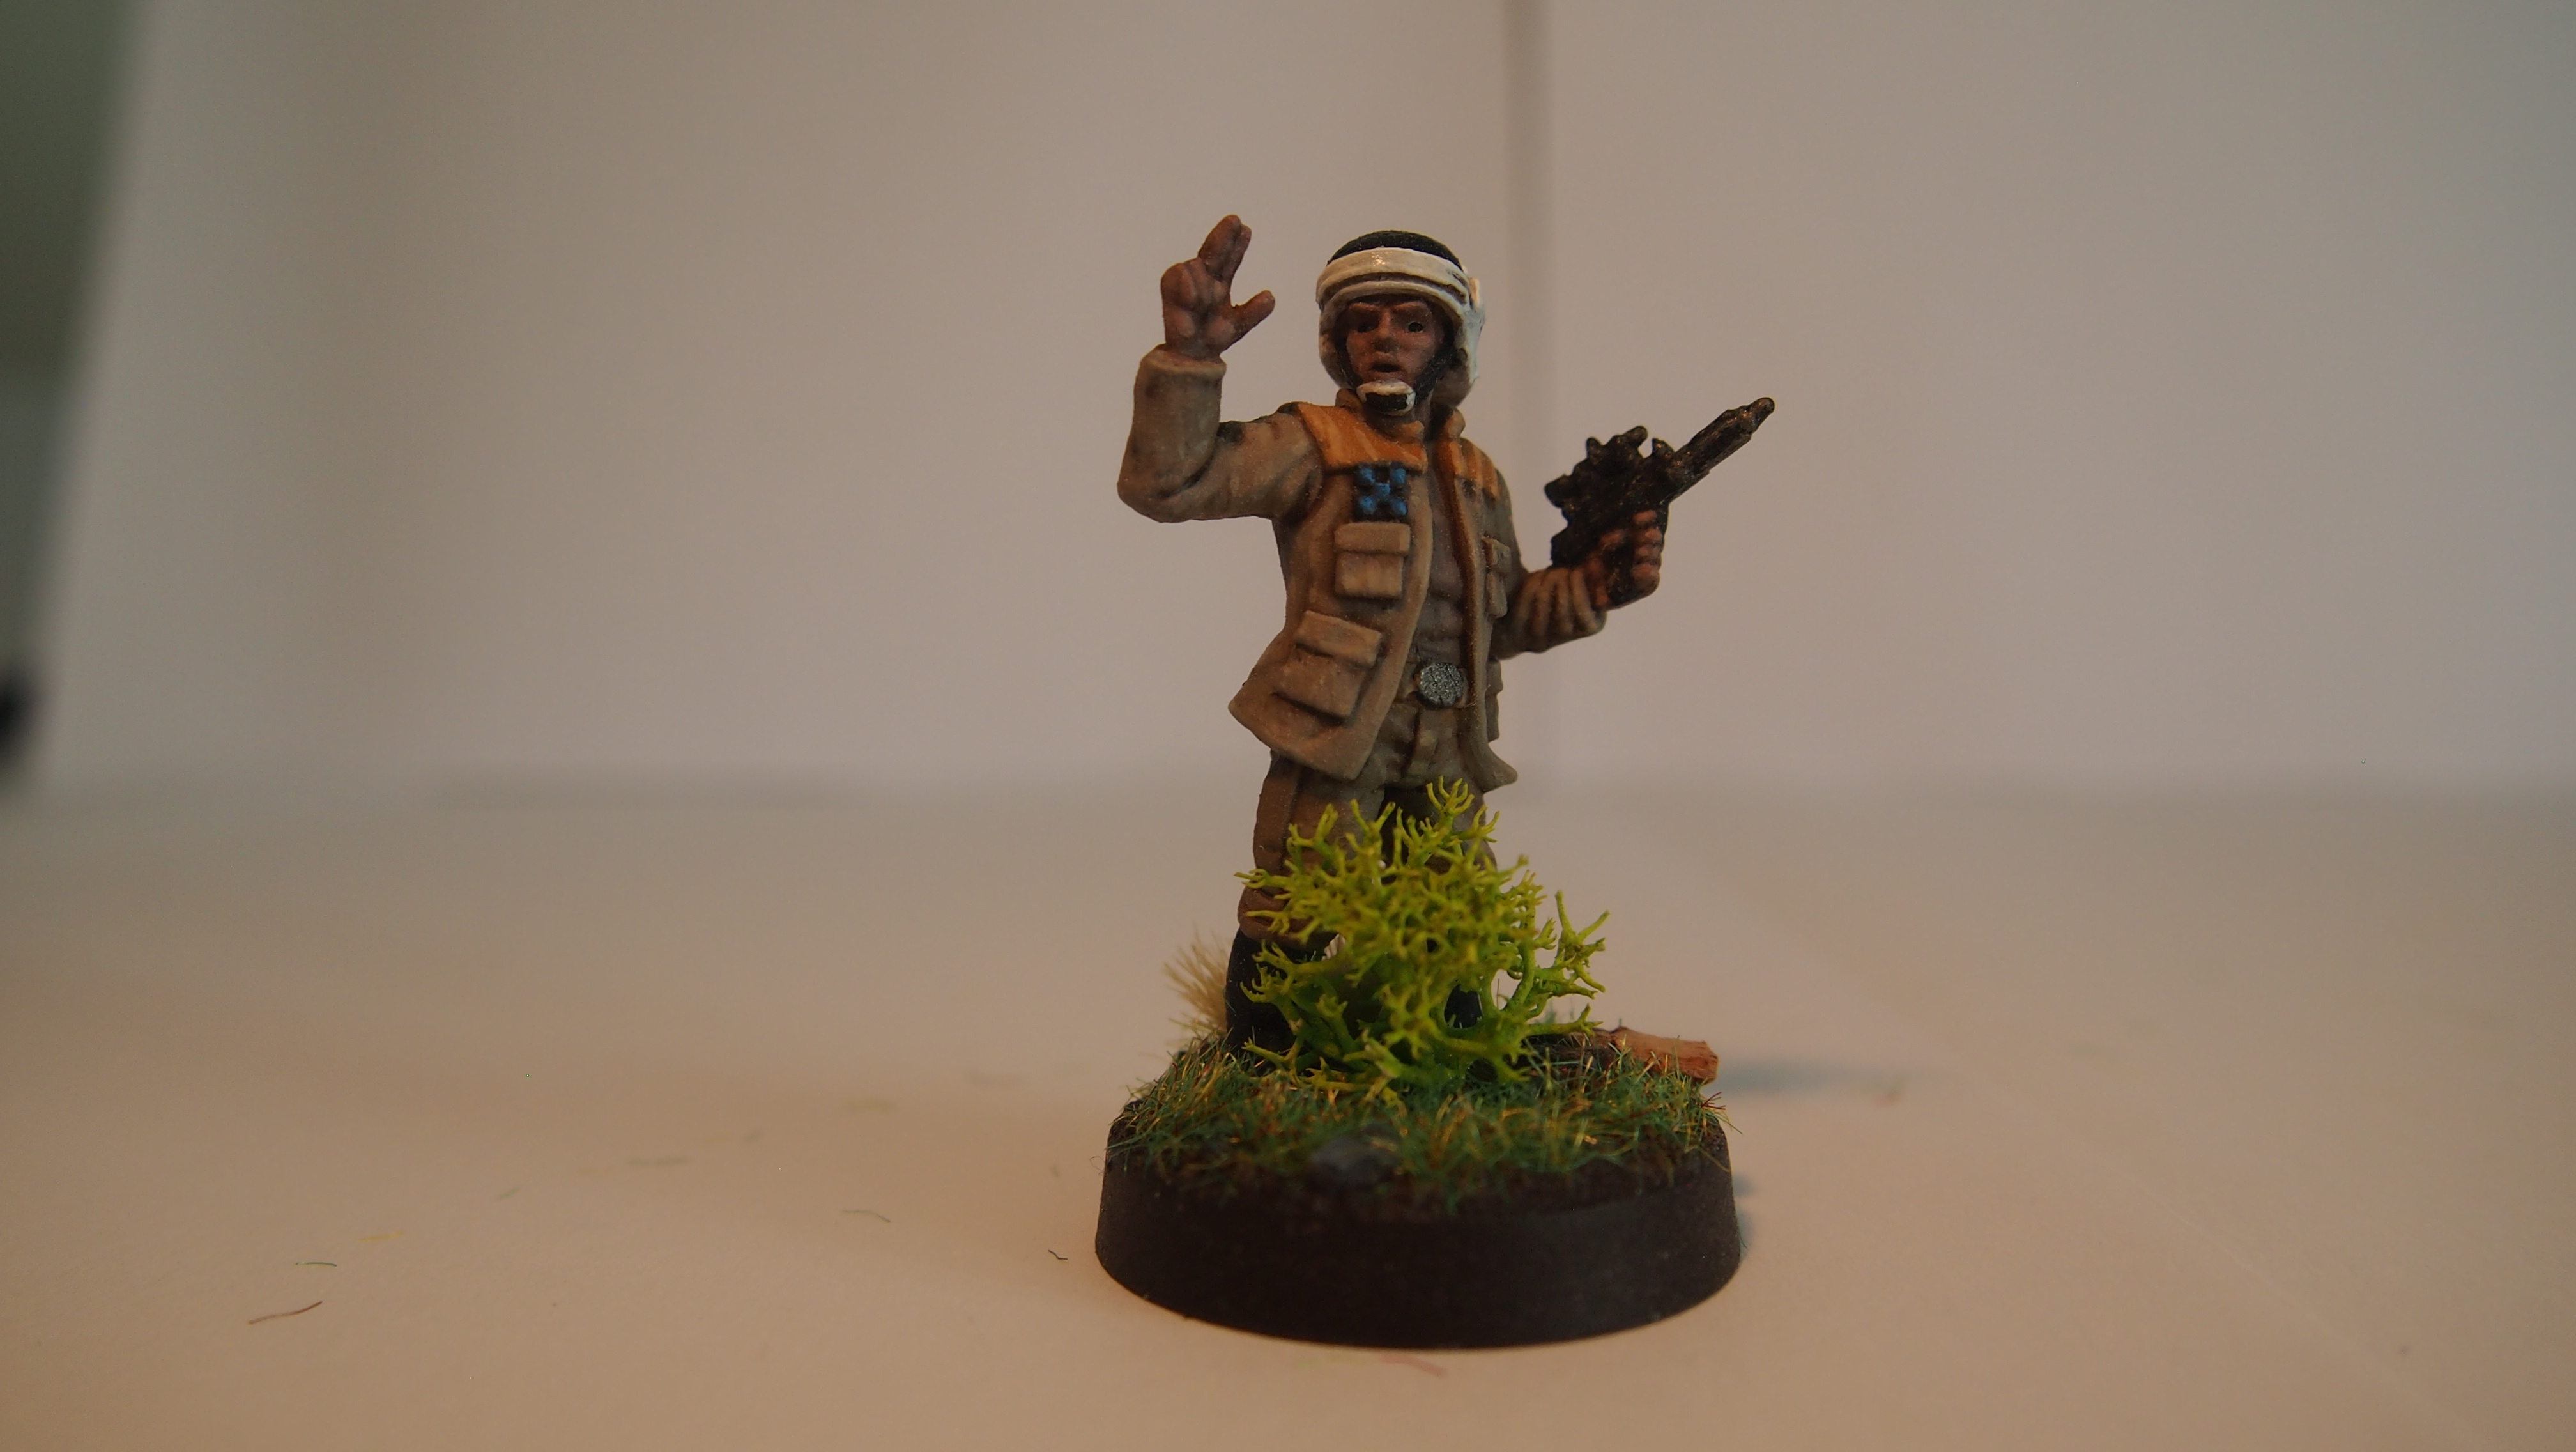
Rebel Veterans [93 Points]: CM-O/93 Trooper, Rebel Officer
+ Special Forces +
Rebel Commandos [104 Points]: DH-447 Sniper, HQ Uplink, Hunter
+ Support +
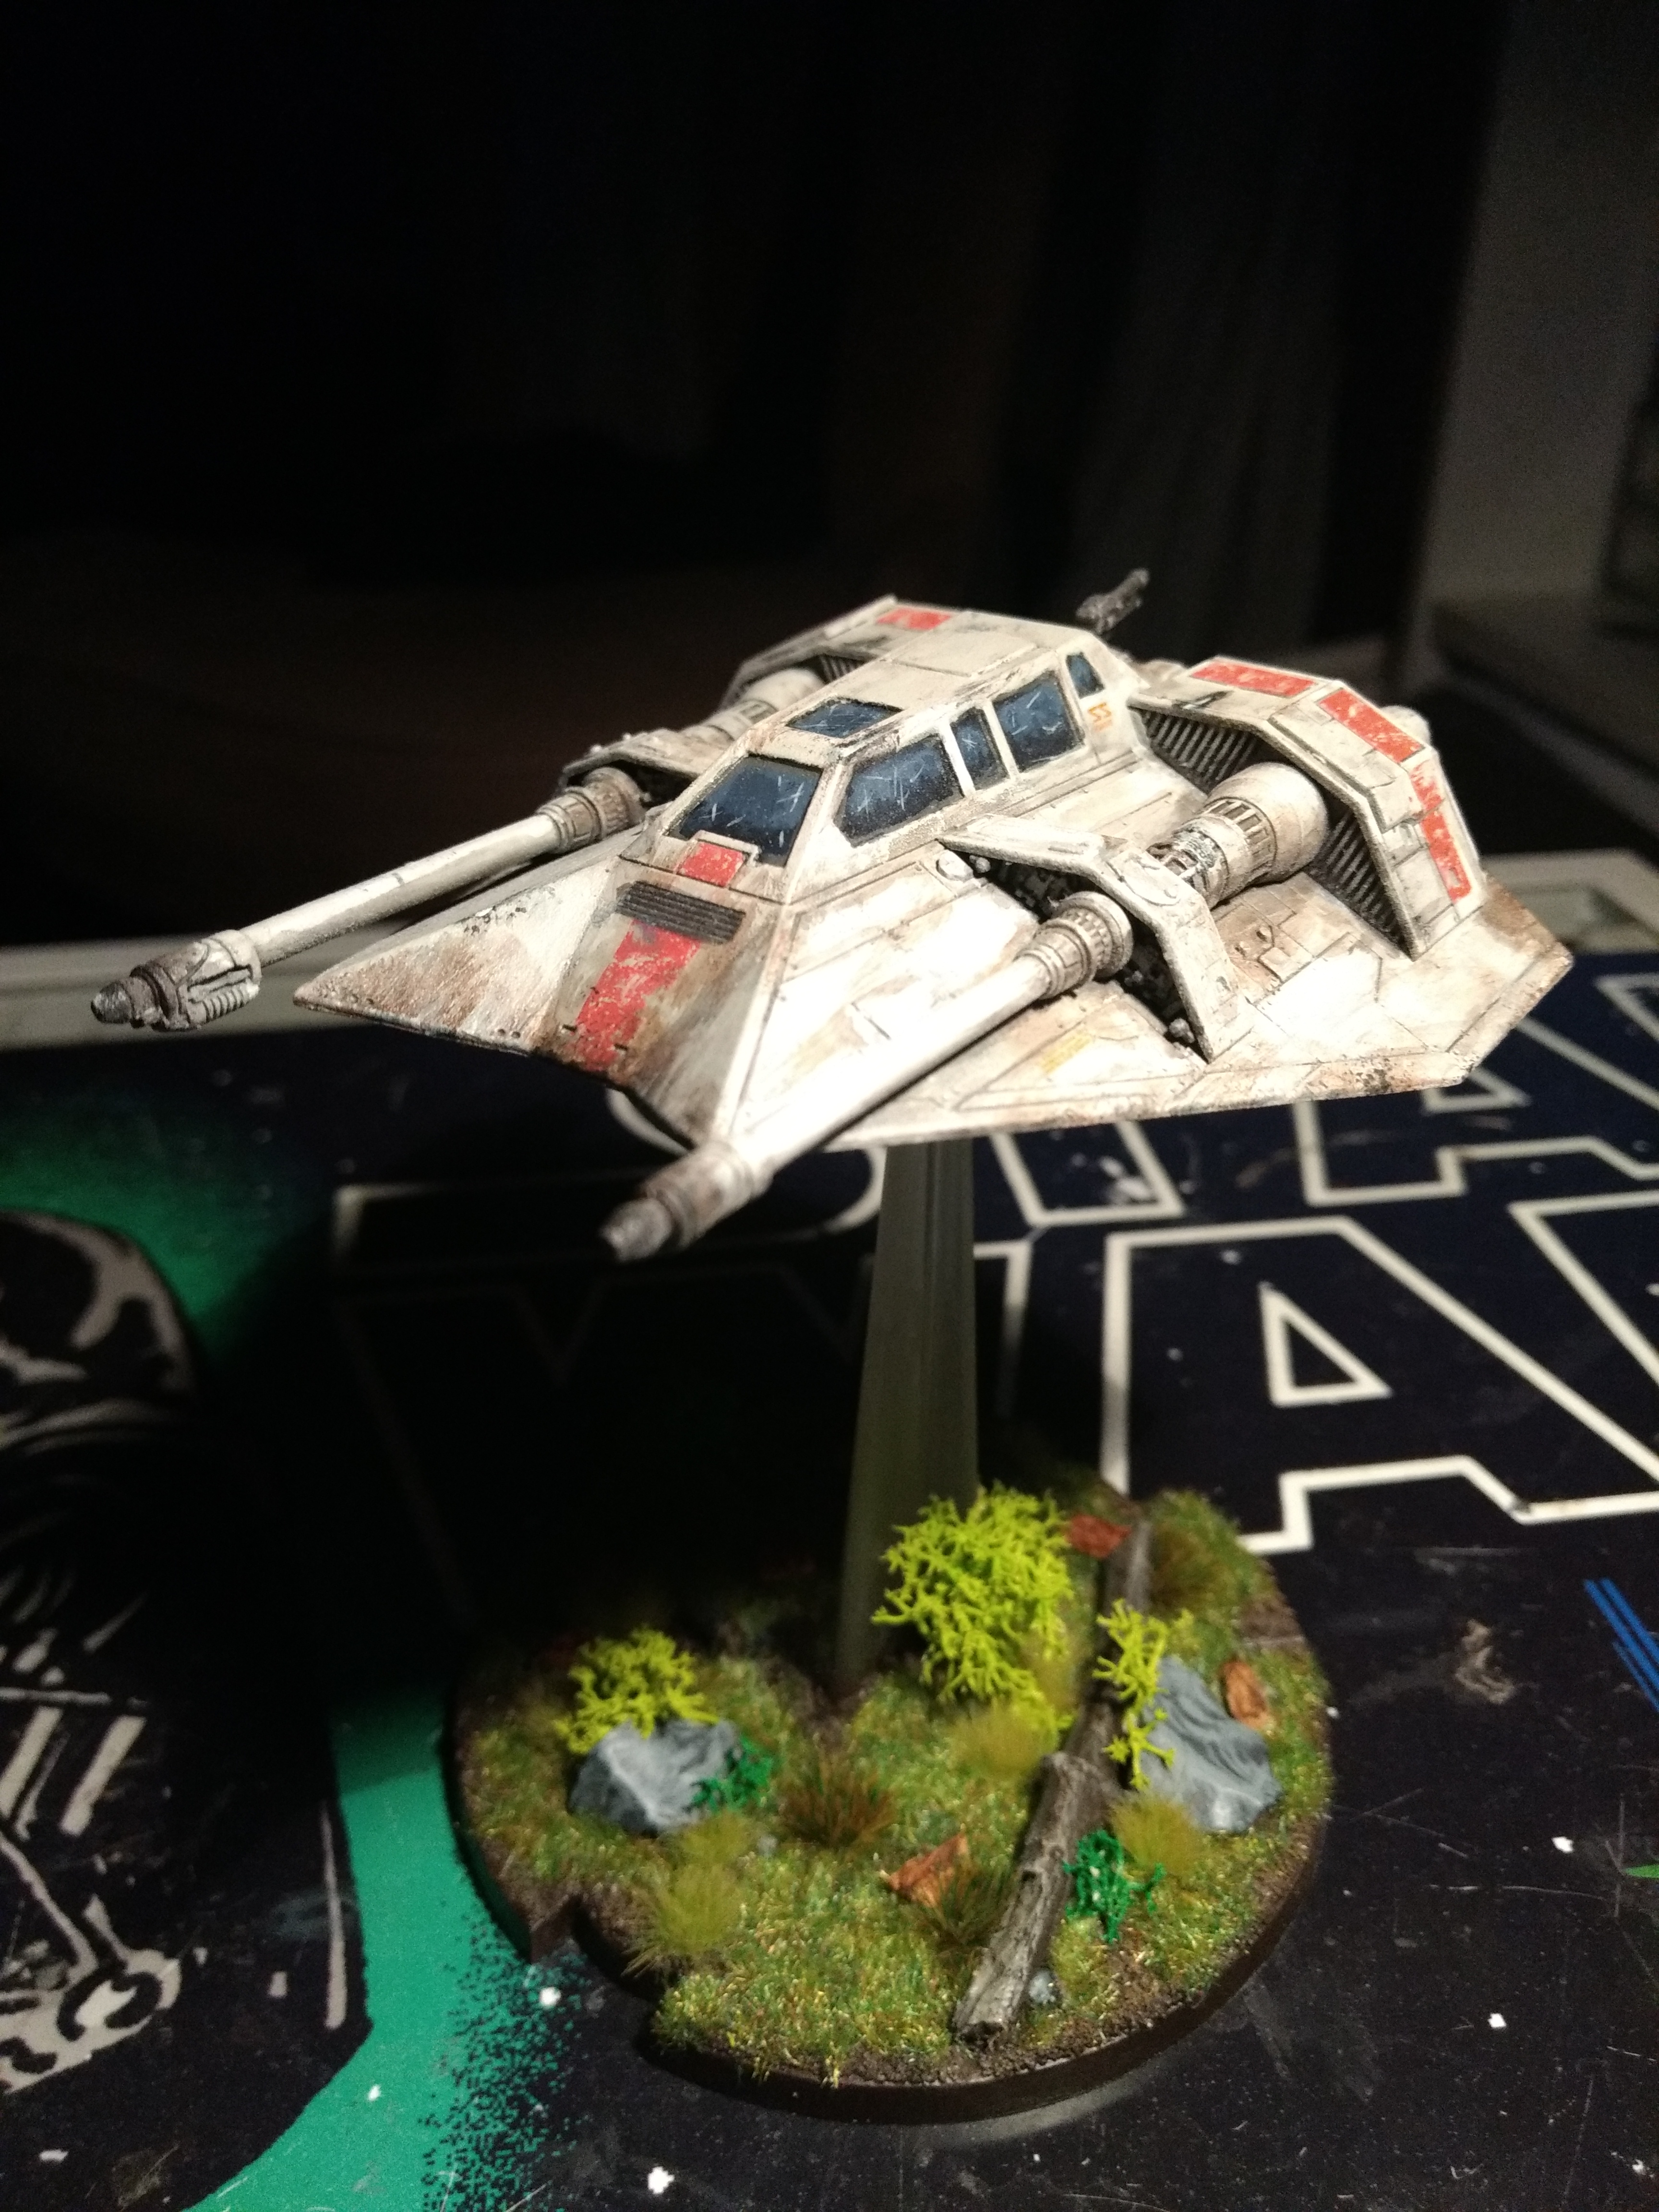
Tauntaun Riders [99 Points]: Comms Jammer, Tenacity
Tauntaun Riders [99 Points]: Comms Jammer, Tenacity
+ Command Hand +
Command Hand: •Ambush, •Coordinated Bombardment, ••No Time for Sorrows, ••Turning the Tide, •••Covering Fire, •••Somebody Has to Save Our Skins, ••••Standing Orders
+ Battle Cards +
Condition Cards: Clear Conditions, Hostile Environment, Limited Visibility, Rapid Reinforcements
Deployment Cards: Battle Lines, Disarray, Major Offensive, The Long March
Objective Cards: Breakthrough, Intercept the Transmissions, Key Positions, Recover the Supplies
++ Total: [796 Points] ++
Created with BattleScribe (https://battlescribe.net)
I didn’t wanna play with minefield or sabotage the vaporators cause they aren’t great for My tauntauns, don’t wanna walk into mines and they can’t repair vaporators. I also didn’t pick advanced positions, cause I have a hard time with that deployment recently.
Game 1
My first game was against another rebel player. He had a Luke with a bunch of upgrades, 2 Rotary at-rt’s, 1 tauntauns and a mixed bag of Corps. Fleet troopers, veterans and a medium 2 emplacement as well as 2 Z-6 trooper squads with 1 medical and 1 astromech.
We played clear conditions, secure the supplies and long march.

My initial plan was that I should focus his infantry as I have 0 impact weapons in my list. Since I had 2 units with hunter I felt I had a nice possibility of taking down Luke if he got within range.


I deployed very symmetrical with a nice focus in the middle and 1 tauntaun att each flank. My first turn I did a nasty bombardment putting two wounds on his emplacement, 1 wound on his at-rt and dropped 2 veterans.

First two turns were pretty much just getting into position, claiming the 2 boxes on our sides and doing some potshots. I managed to drop his emplacement and 2 fleet troopers while taking some hits on my tauntauns. A Lot of the match was focused in the middle around the center supply box which was placed on top of a rock pillar. I didn’t have a lot of options to claim it, but My opponent decided to use his Luke who jumped up with force reflexes turn 3. I decided not to test His defect abilities and just positioned my units and fired at his troopers. My tauntauns caught some heavy fire and my right flanks were killed while my left one took 4 wounds and lost one, but my last activation was my medical team which restored it to 1 hp.

Turn 4 was the turning point and I felt pretty confident in the overall match since I had killed way more models than my opponent, however there was a possibility of Luke running away with the box and claim victory. We both used our unique 3 pip cards and I got priority. His Luke was standing on the center pillar with a dodge token and heavy cover. Leia activated first and moved in range and shot, he didn’t wanna use his dodge on that attack and Luke took 2 wounds. Next I used somebody has to save our skins to activate my ramaning tauntaun and fired with a fire support emplacement on luke causing 7 hits that went down to 5 after dodge and cover. Luke took 2 wounds again and deflected back 2 hits.

He then activated Luke and claimed the box and jumped back down. Thanks to my veterans with hunter and commandos I could push Luke to use his emergency stims and he died turn 5 after moving the box back. My opponent had one trooper squad and 1 badly hurt veteran squad left to hold the boxed and his two at-rt’s left to attack me. Thanks to the remaining tauntaun and a rebel trooper squad I managed to kill his veterans and at most he could tie with victory tokens and lose on points or not stop me from getting a third box and lose. In the end he had 1 at-rt and 1 supply box while I had half my army and held 3 boxes.


Game 2
I faced yet another rebel player who had a pretty similar list to my own. 2 tauntauns, 1 veteran squad and a mark 2 emplacement and Leia. He also had Jyn Erso as a second commander and several rebel trooper squads with Z-6’s + 2 sniper teams. I got blue player once again and we ended up with major offensive, clear conditions and breakthrough.
My initial thoughts was that this is going to be a bloody fight in the middle due to the deployment and it would be up to the tauntauns to try and do a breakthrough. I planned on splitting my force on each side with a focus around Leia in the middle. My opponent did a nice bait by deploying Jyn very close to my deployment with her infiltrate ability, I decided to deploy one of my veteran squad close the middle and used the emplacement deployment to put it in range of Jyn. I placed my commandos up top, where I hoped they could sneak around and maybe do a late game sneaky double move for breakthrough. My opponent used his bait to put both his tauntauns on one side ready to run on my flank.


Turn 1 I had a hard choice to make. Either do an ambush to give order to my left veteran squad and emplacement to alpha strike Jyn or go with Leia’s 1 pip to bombard my opponents strike teams who was deployed out in the open. I decided to go with the Leia option and did another nasty bombardment killing one strike team and dropped one model in the second one as well as 2 rebel troopers in another squad. My opponent answered with his tauntauns which had gotten a free speed 1 move thanks to his Leia. They ran down my flank and shot down my emplacement. I responded with my veterans dealing minor dmg and his second unit came running and dealing some dmg to my veterans. His Z-6 troopers killed my second emplacement and my commandos used the sniper rifle to drop his last strike team. So we both downed 2 activation from each other very quickly.
Turn 2 continued to be bloody and it looked grim for my army as I rolled blanks after blanks in defence rolls. The tide turned however and in the third and fourth round my opponents dice turned into crap. We kept dealing high damage to each other which often happens in rebel v rebel matchups as both are rolling white defence dice, but pretty good attack dice. Start of turn five we both ran low on units and all tauntauns except my left flank one were dead and on their way to his deployment zone. So my opponent had to at least bring one unit into mine while still killing more units than me, he played Jyn’s 1 pip and ran towards my deployment line and charged one of my units as soon as they activated triggering the charge ability. This is what I think sealed the game as I could focus on just blocking and shooting while my opponent had to move into my zone.


My commandos died under heavy Z-6 fire so I had no hope of putting another unit in his deployment. I only had Leia and a healthy veteran squad left vs his Leia, Jyn and some Z-6 troopers. We both had lone squad leaders that were eventually killed. In the end on turn 6 he could put Jyn into my zone, but Leia was caught in melee with my veterans and since he had fewer point left on the board I managed to take the win. It was an close and bloody match. I’m impressed by my opponents use of Jyn erso and her command cards as well as the bait and switch in turn 1. I’m gonna have to start playing more with Jyn in the future.
Game 3
Sadly I got paired with one of my local players Axel from Starfighters, if we didn’t we could have both placed us in top 2. Axel and I have played against each other several times and we are pretty even in matches won. I got to be blue player once again and I saw limited visibility in the third spot so I used both my bans to get that one, leaving the rest for Axel to decide. We ended up with limited visibility, long march and intercept the transmissions. I have played intercept and lost due to the fact that my rebels crumble at turn 5-6 leaving my opponent to pick 4 victory tokens at the end leaving the game in a draw that I lose on points (2 on turn 2, 2 on turn 4 and 2 on turn 6, while my opponent gets 1 turn 2, 1 turn 4 and 4 on turn 6).

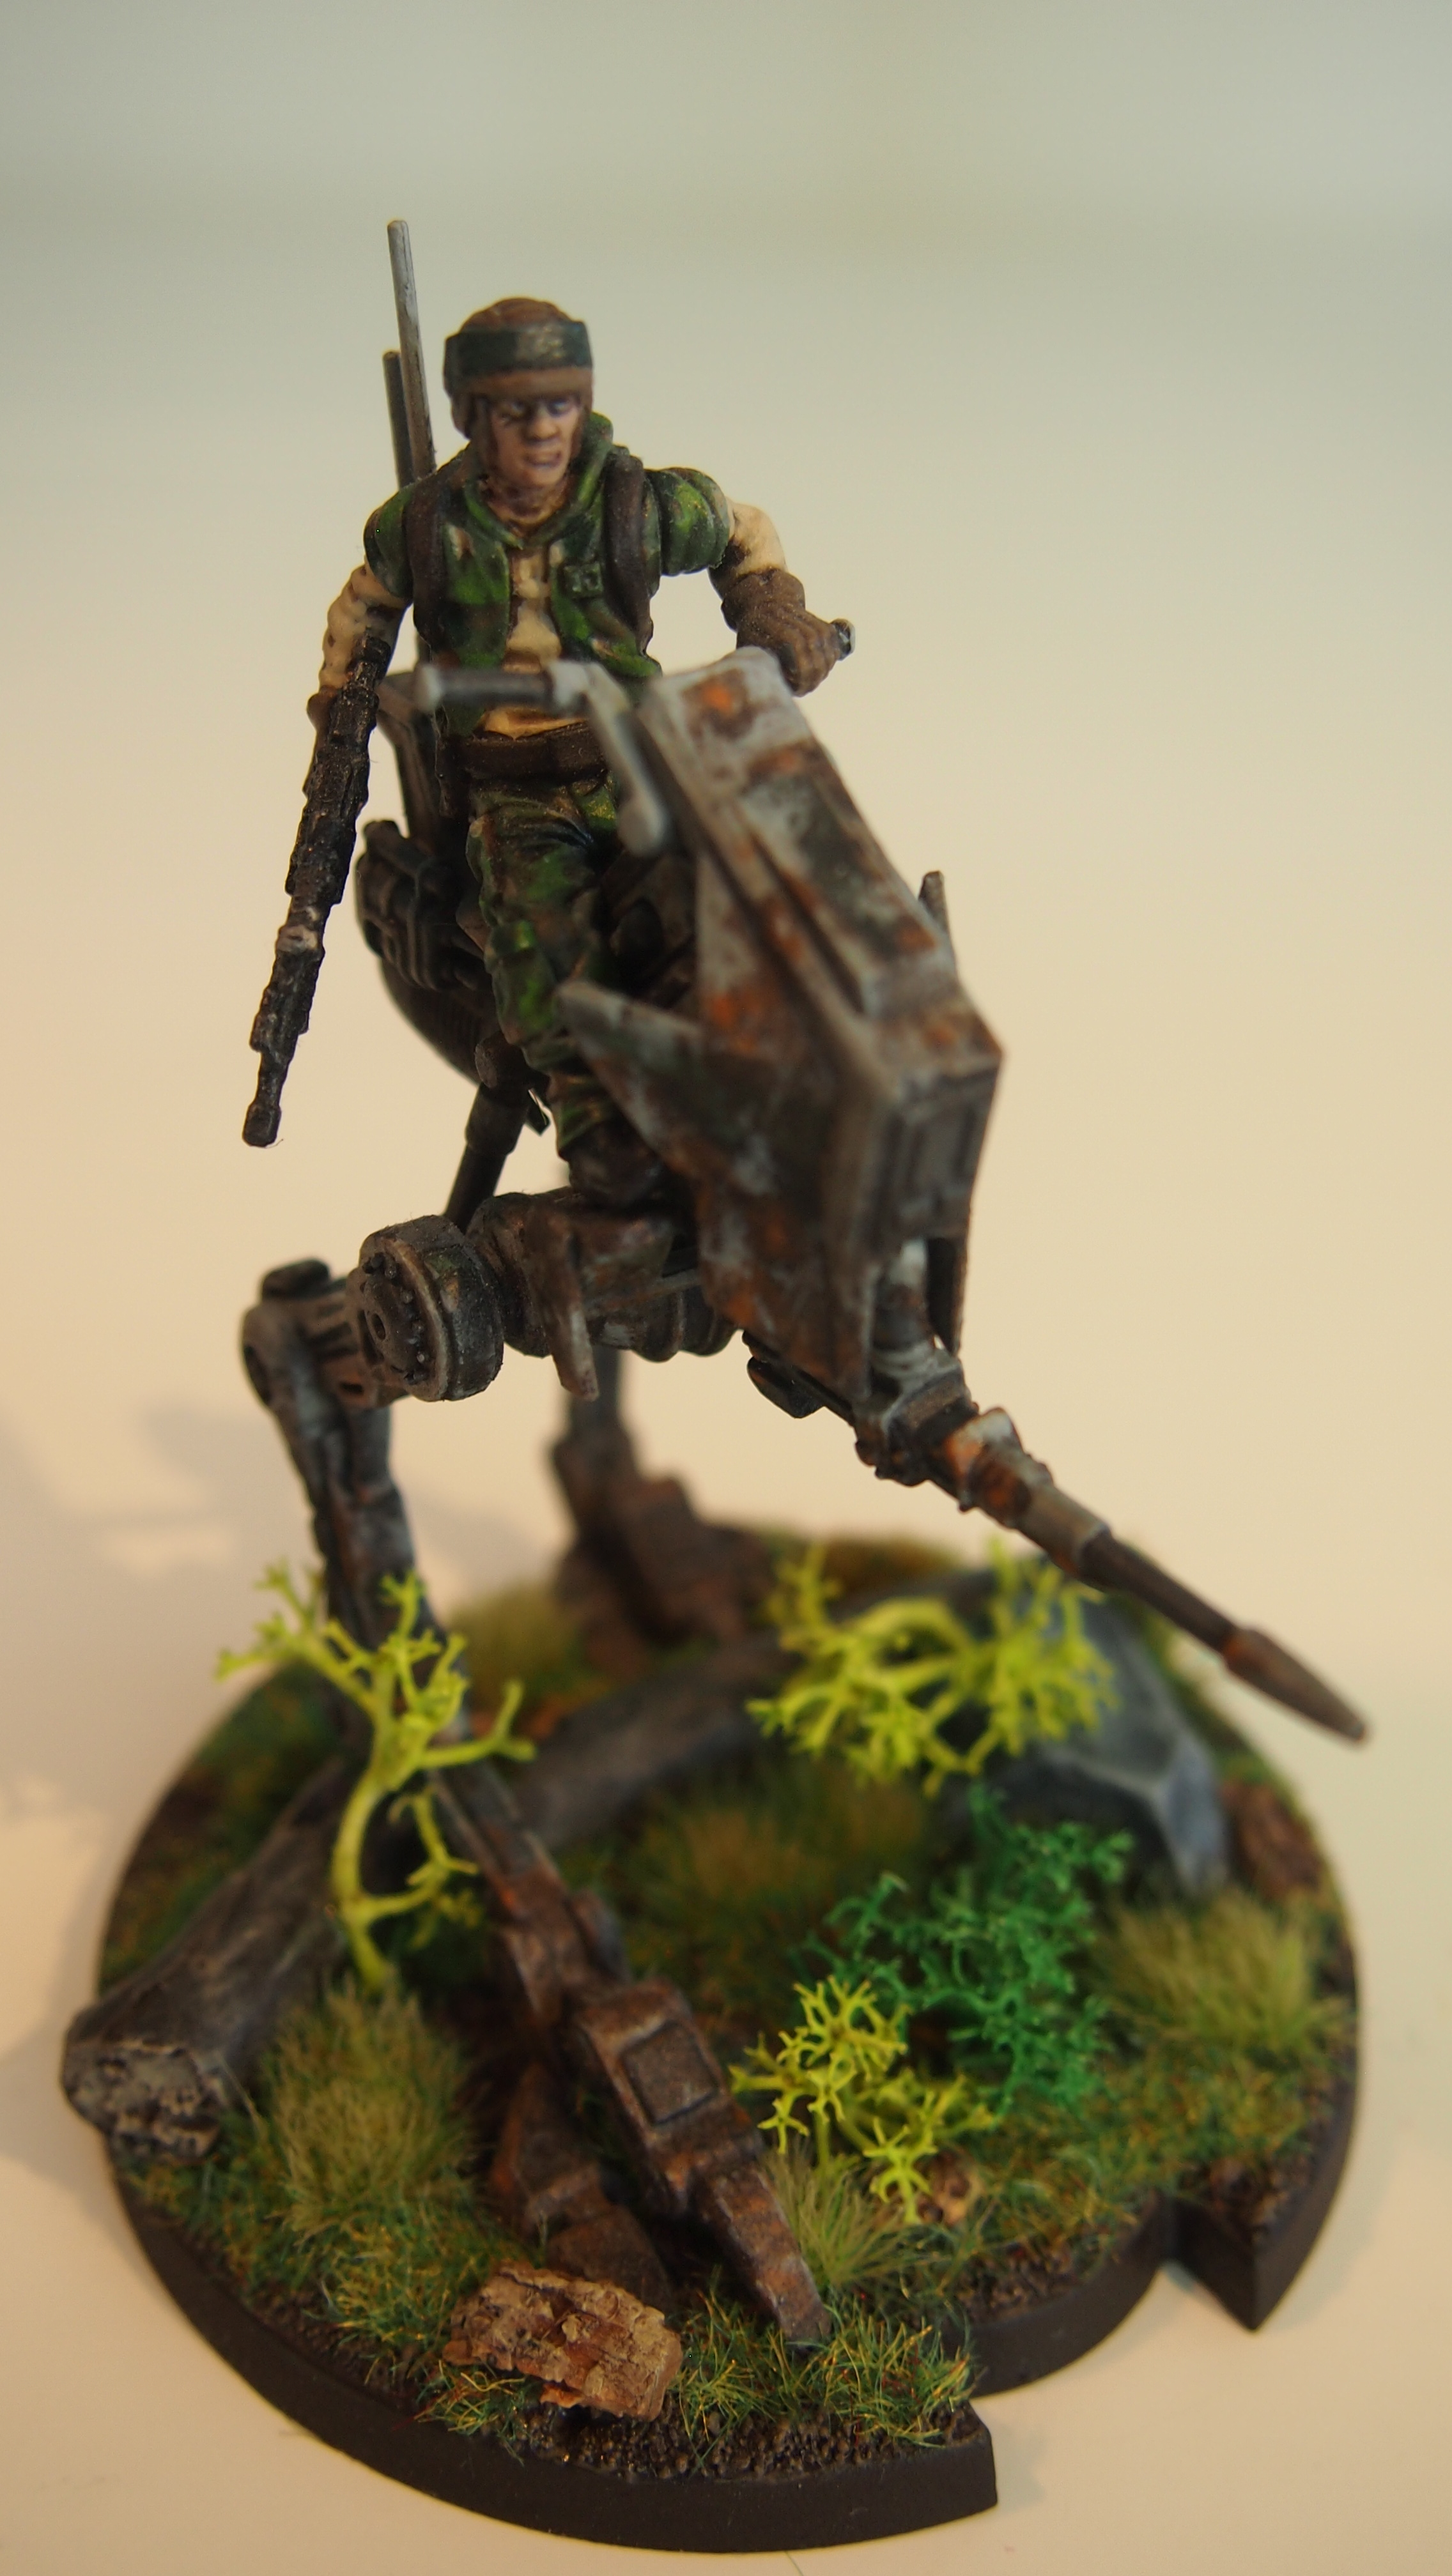
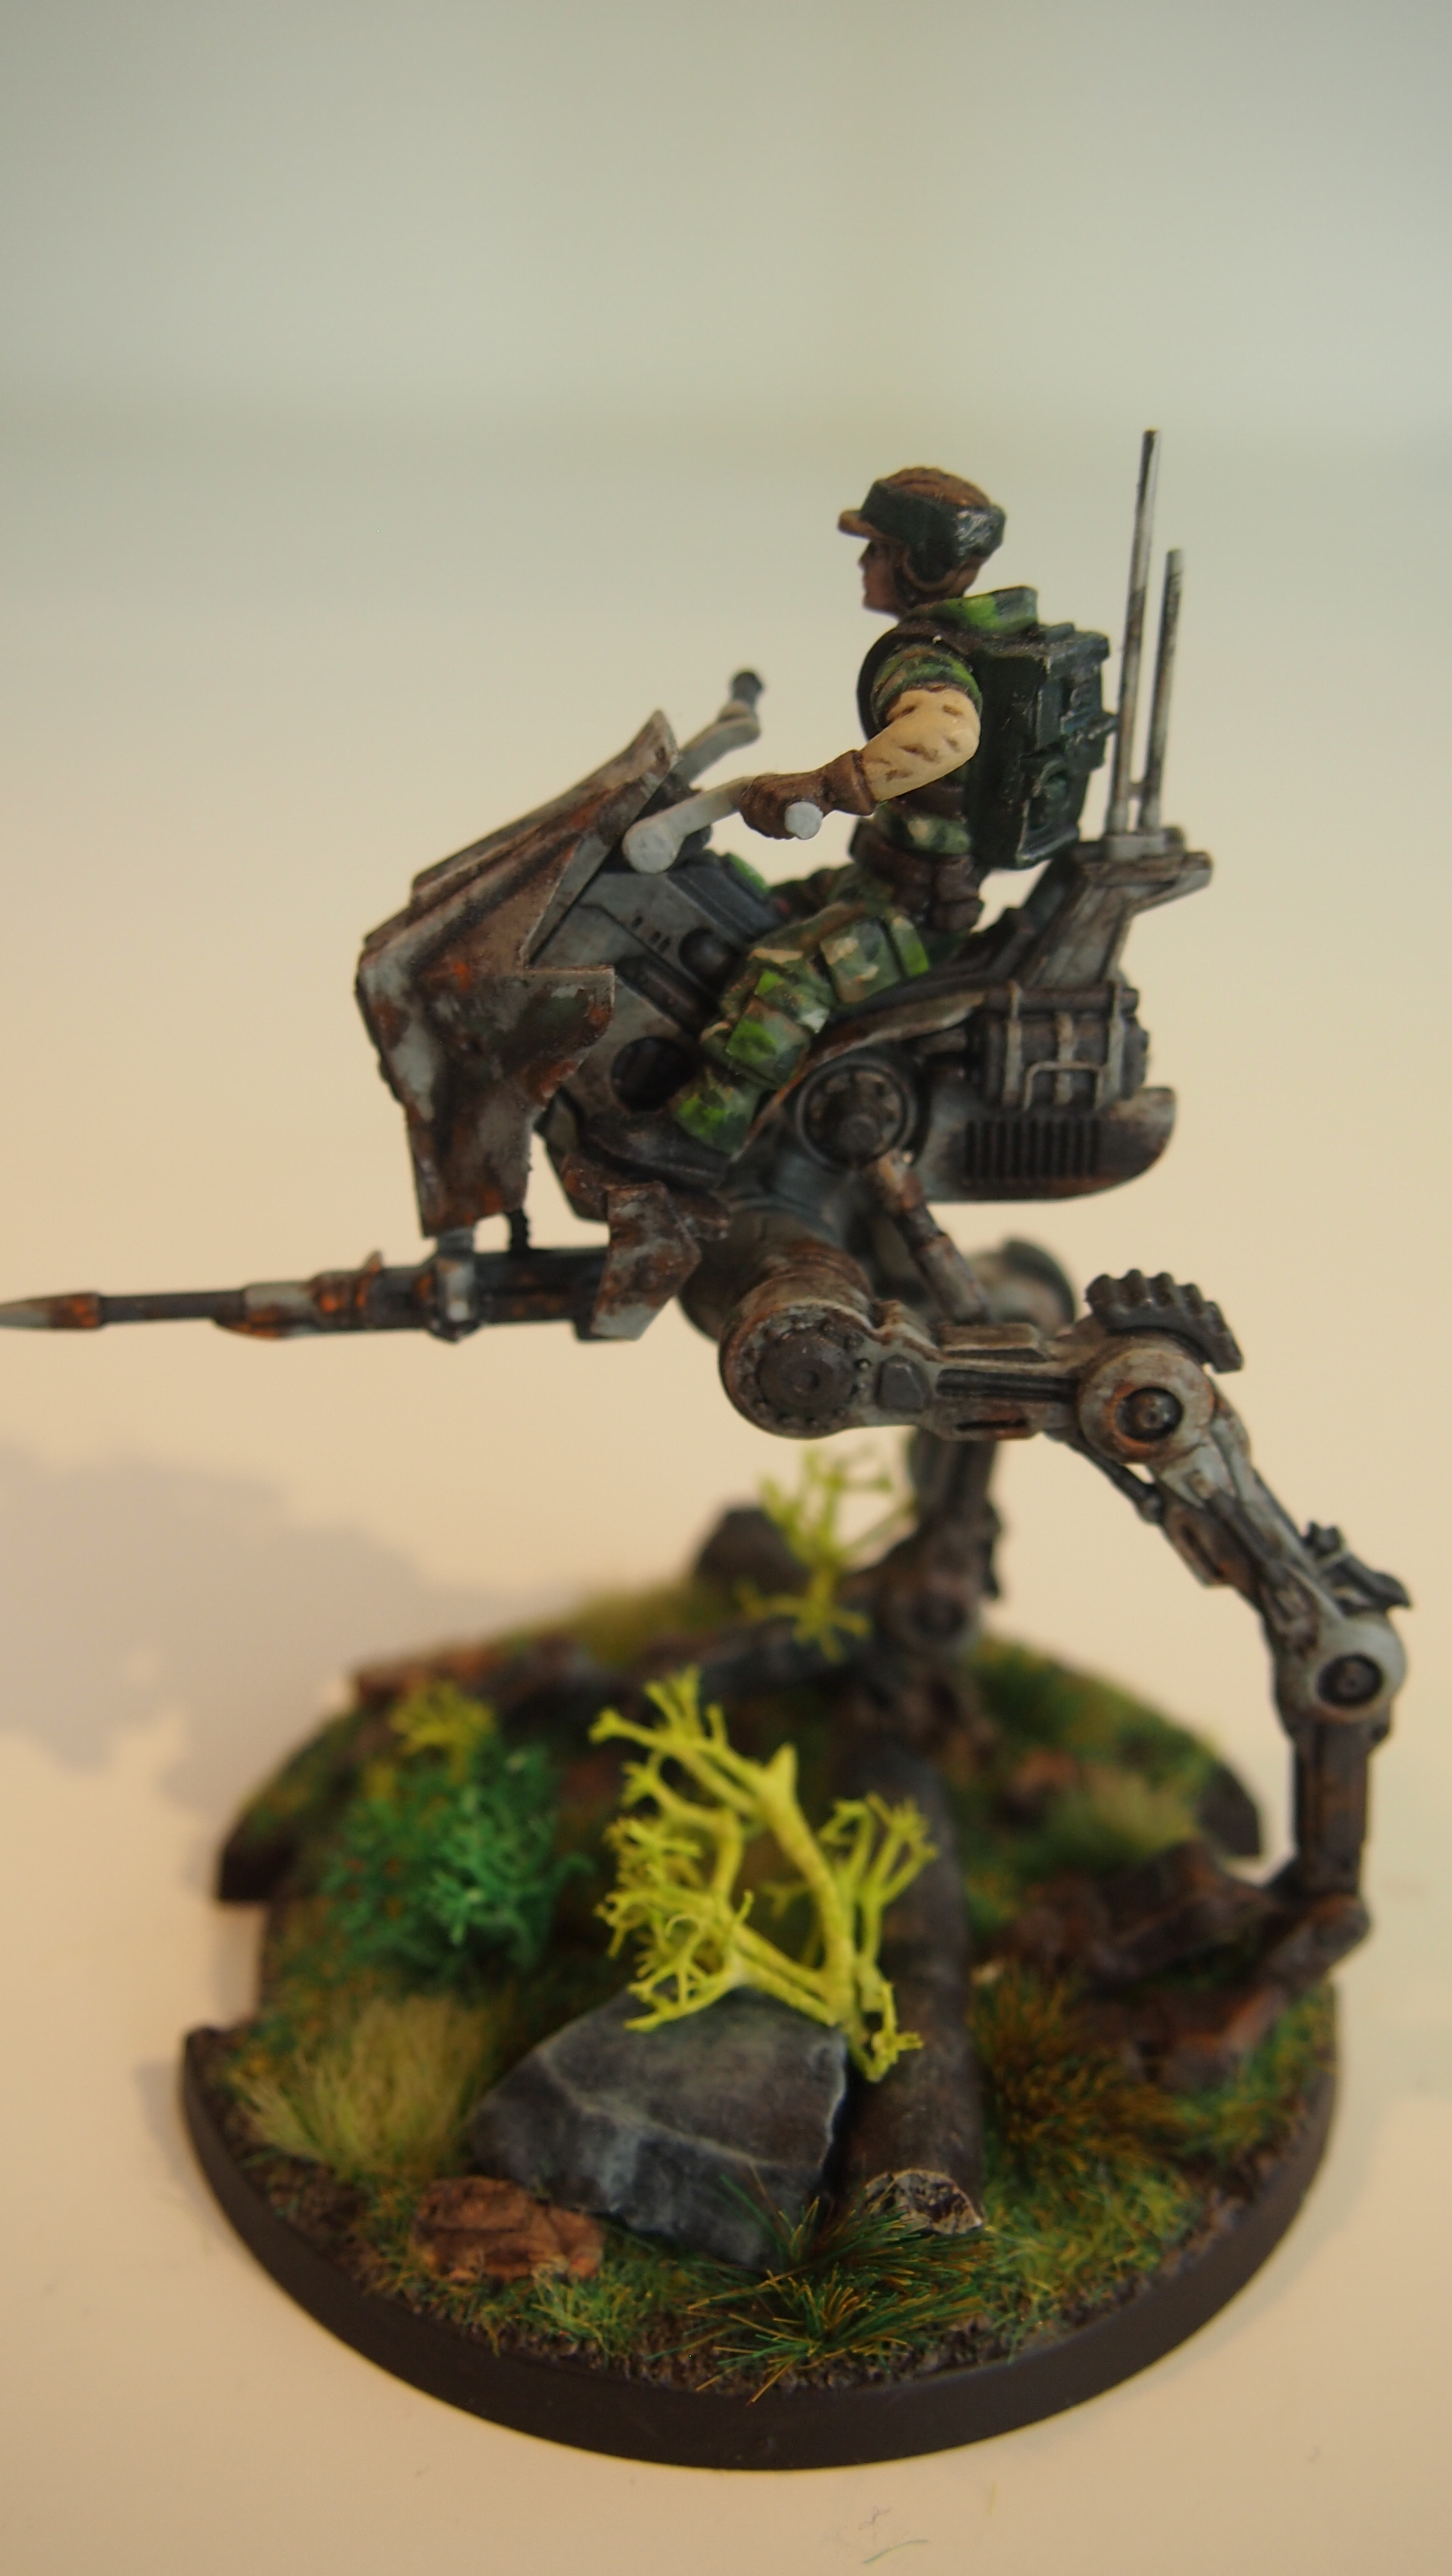
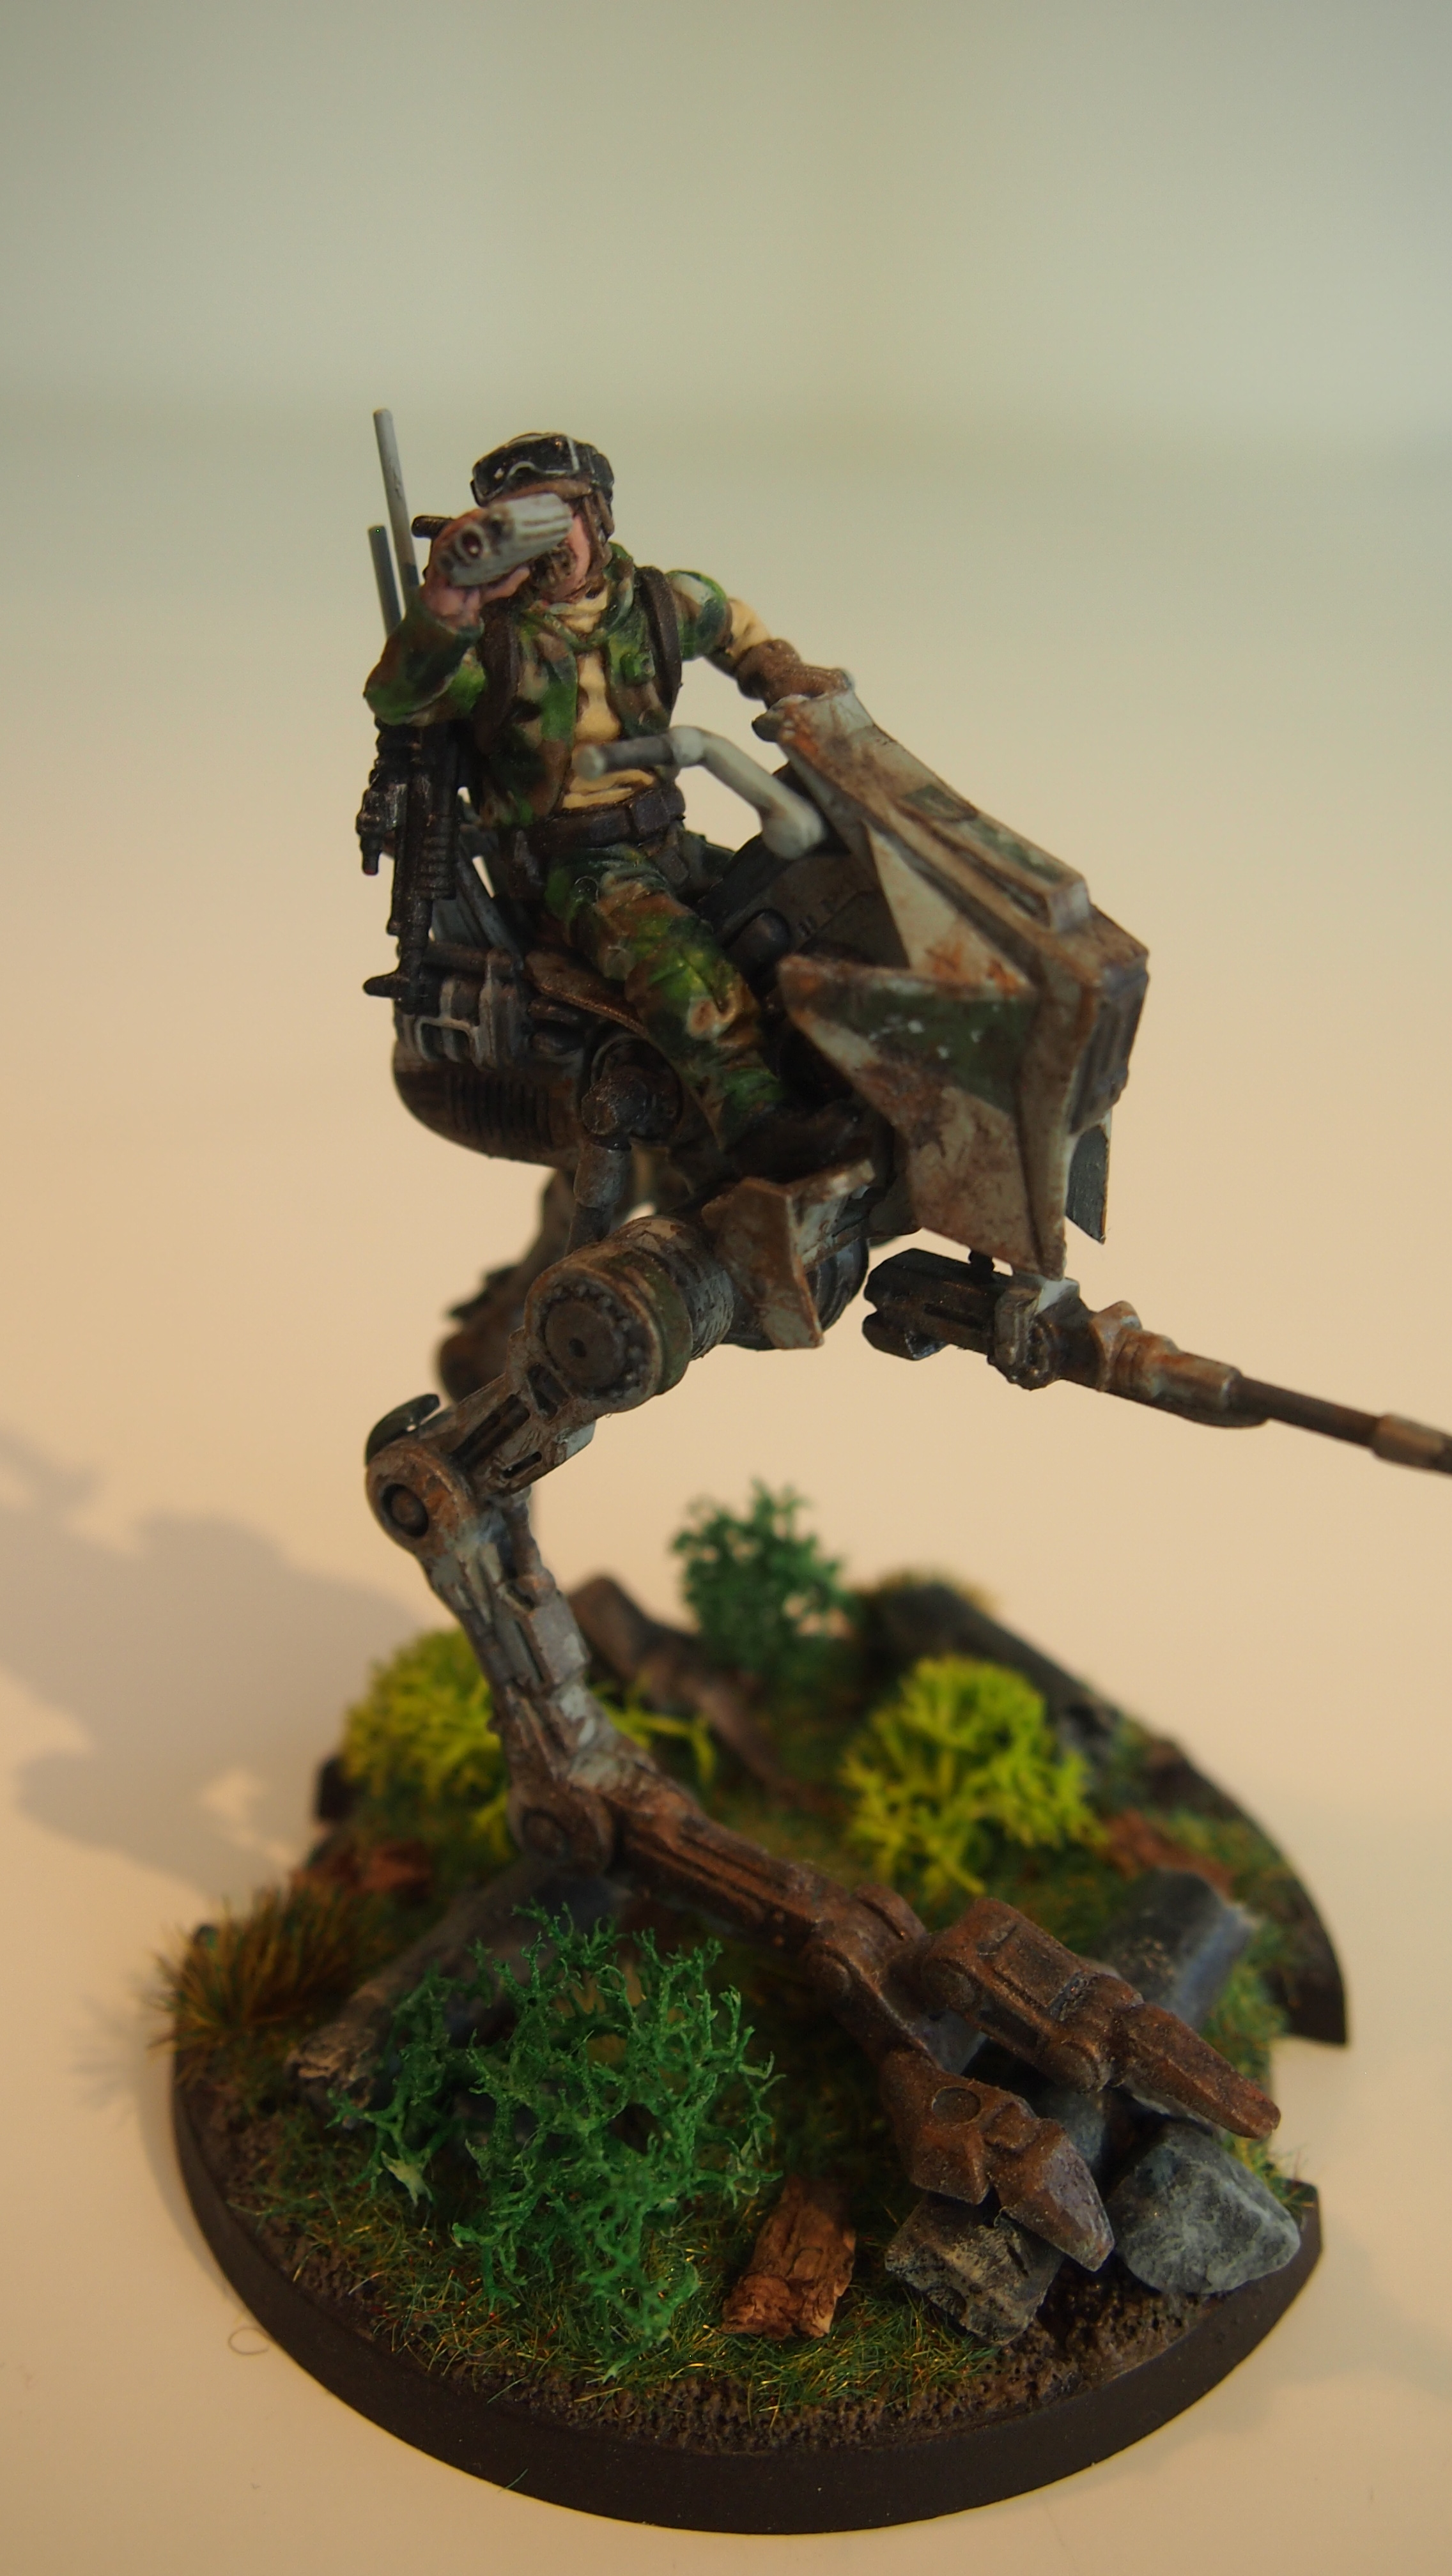
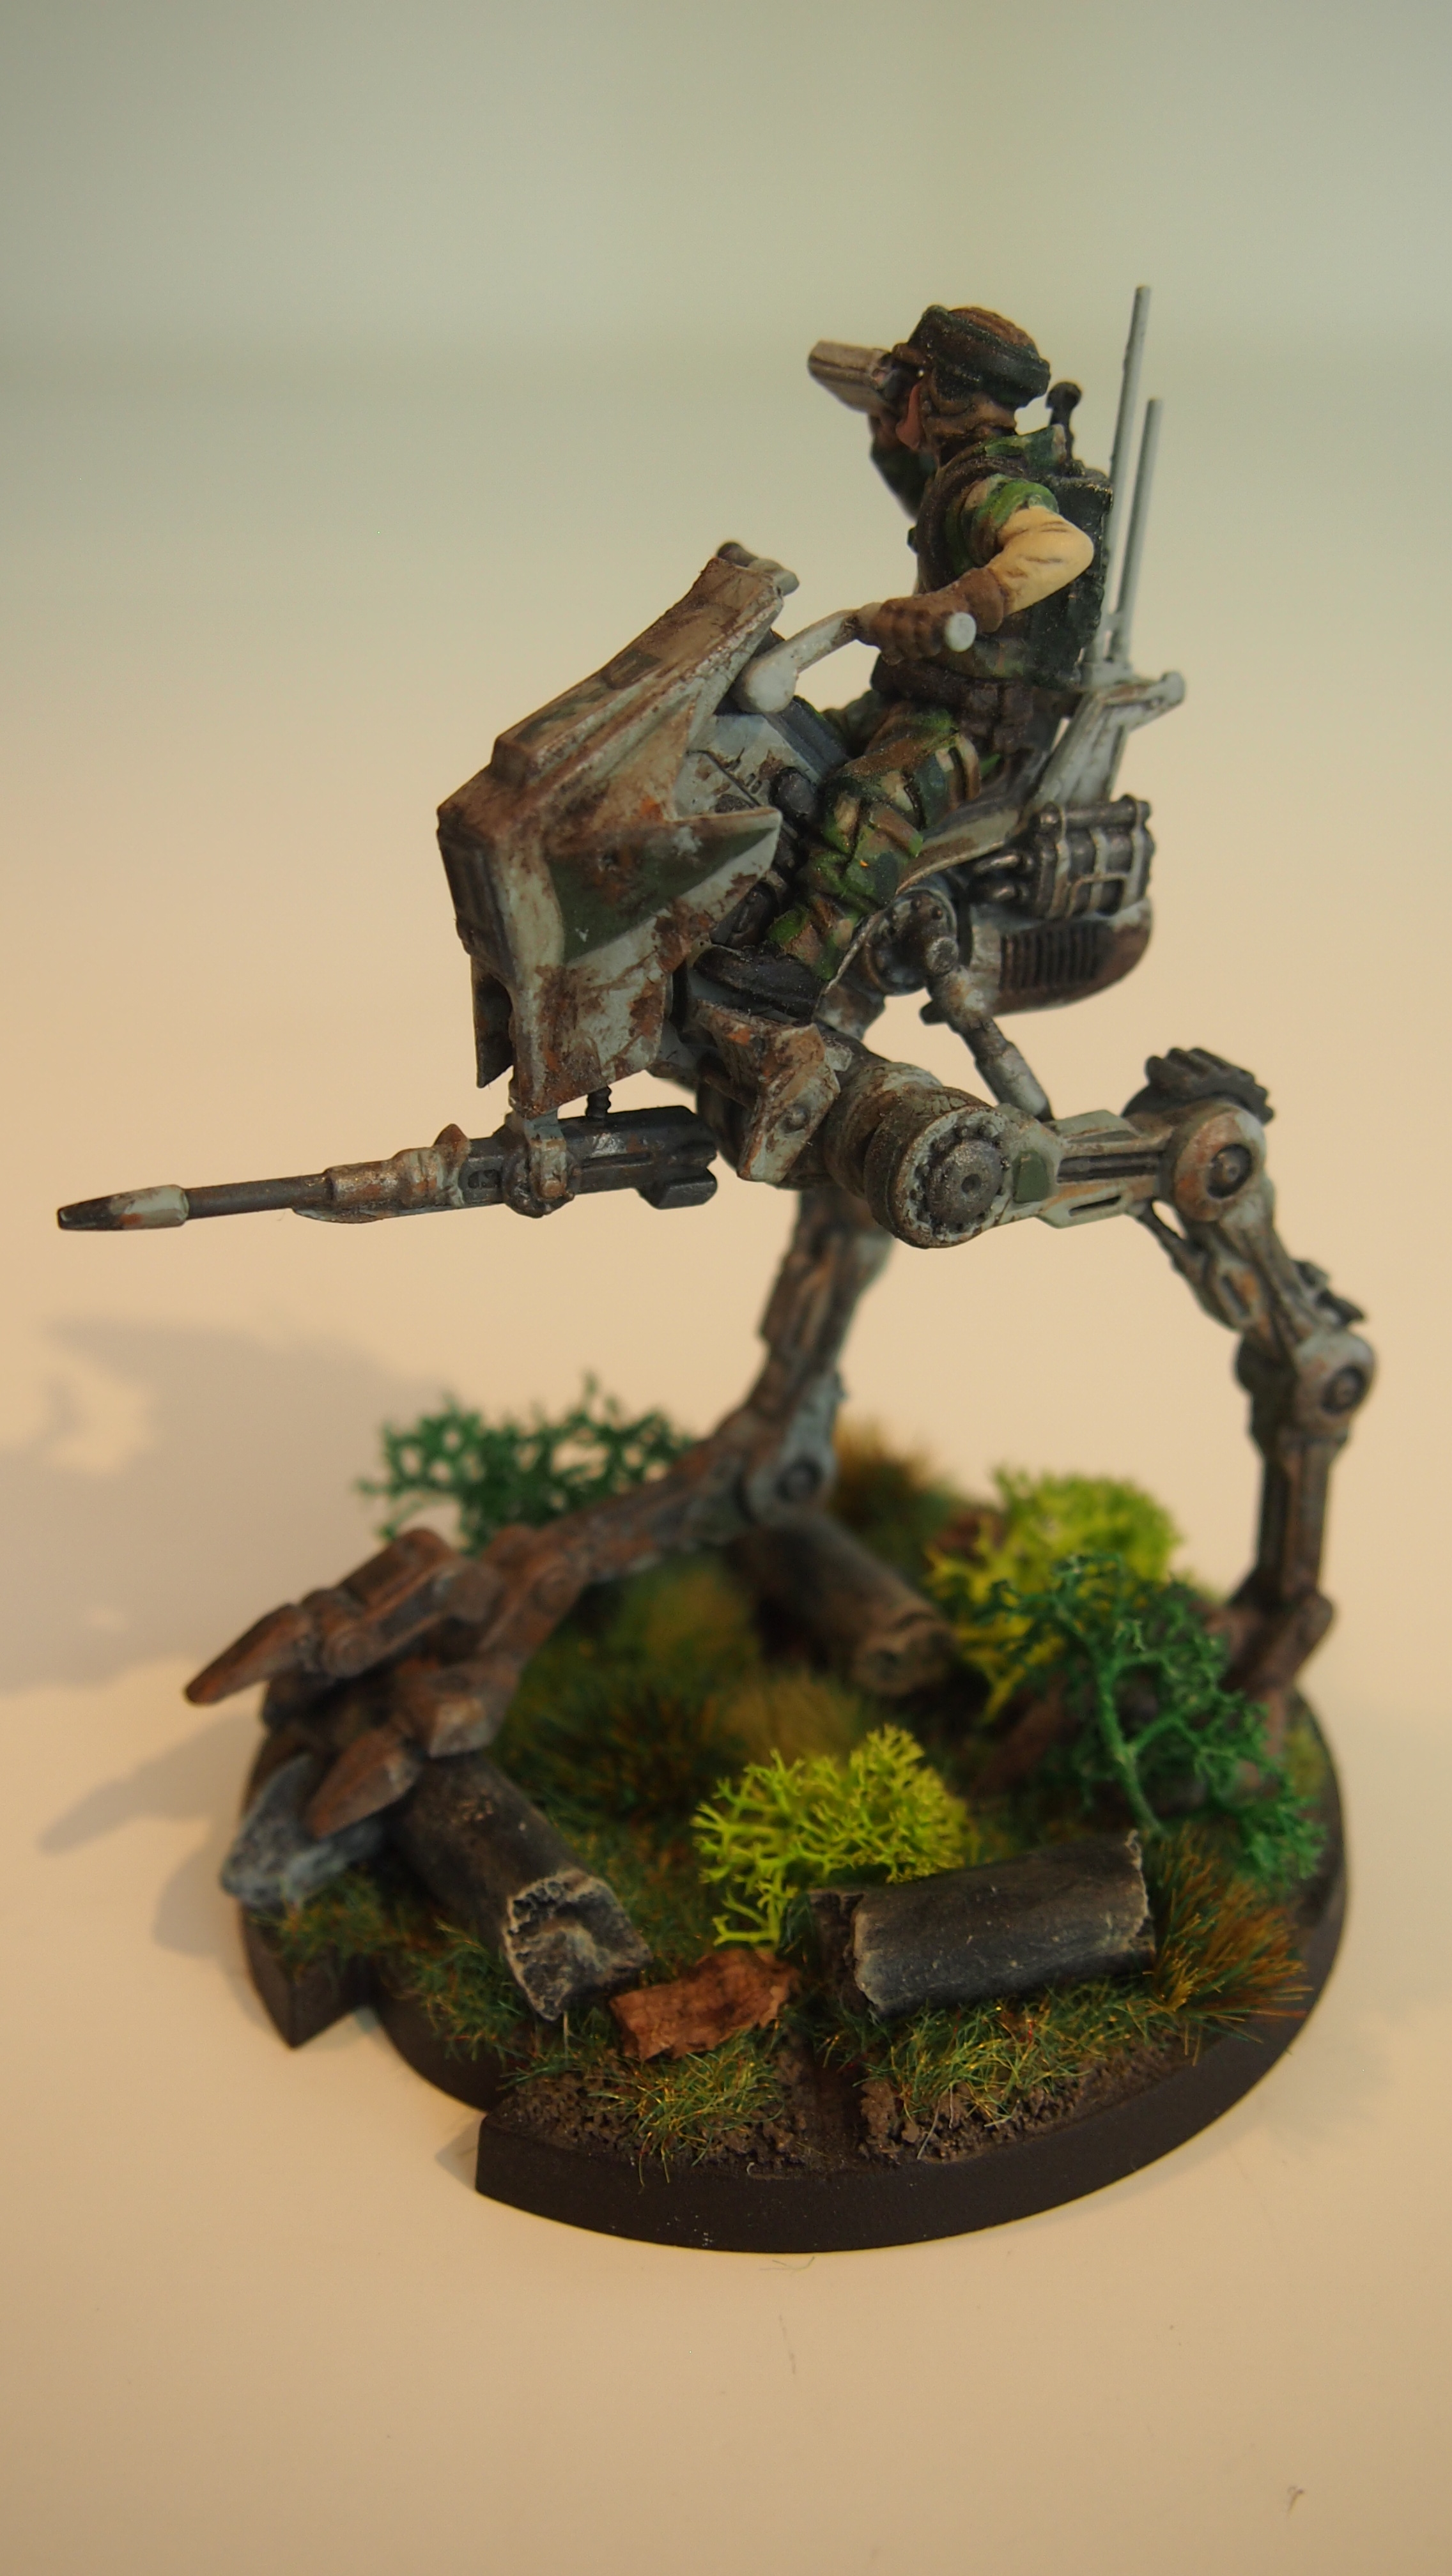
My rebels 
Axel’s imperials
I didn’t have much of a choice than to try this again as he had way more range 4 firepower and I had more mobile units. His list is led by Krennic with death troopers entourage, a shoretrooper + mortar squad. several stormtrooper squads with dlt and/or medical droids as well as Bossk. With limited visibility in the game and a big forest area terrain I decided to once again split my tauntauns on either side and focus heavy around Leia in the middle. First 2 turns went by fast as we didn’t do any attacks on each other and just walked into position, I put myself just behind the middle of the table and took the center objective.

Turn 3 the range was back to normal and he played lying in wait, this I have faced before and it’s pretty much a guaranteed 5 crits on any unit at range 5 from Bossk’s position at the end of the round. My left tauntauns and some of my veterans went into rang 3 of some of his units and started to nibble at his stormtroopers. My tauntauns took alot of fire, but tanked several shots. Due to him placing standby on his death troopers and other units I had no real way to get into close range with my other tauntauns without dying so I waited at range 4 and took some dlt dmg. Despite several shot on his mortar, it refused to die so I decided it was time for my tauntauns to attack and I ran them into his line and killed the mortar hoping they would survive to the next turn for some comms jammer action (spoiler, they did not).

The round ended with Bossk walking forward with 8+ aim tokens and just deleted my rebel commandos that sat in heavy cover. This was a huge setback. Turn 4 I played covering fire and it was time to hold the center objective and start to fall back. He used Bossk’s double tap command card and started to advance on the centre, his death troopers and shore’s dealing nice dmg on long range killing my emplacements despite dodge tokens. So now I was at a similar situation as before. I had only Leia, both veterans and my 2 rebel troopers left. I had to kill enough of his units and contest the centre in order to win. Luckily I had Leia’s bombardment left and I knew my opponent really wanted to go first so I expected him to play voracious ambition leaving him with Bossk’s 1 pip vs my ambush. This would give me a 50/50 chance of going first round 6. If I had played ambush vs his Krennic 1 pip, he would have gotten priority thanks to Krennic’s special ability. He did an attack on one of my veterans squad killing only 1 veteran. I responded with leia who shoot normal then walked back to use her bombardment. Sadly I didn’t really get a great payoff since some of his units were still to close and his death troopers made their save. My medical droid helped with keeping my veterans alive and my gamorrean Z-6 trooper delivered another 3 unmodified crits on an attack. In the end of turn 5 we both had our commanders in the centre, I had my Z-6 squad and both veterans left. He had his shores who were down on half strength and with 4 suppression tokens. He had 3 lone squad leaders, one at the back objective and 2 in the centre. His death troopers was still a bit behind, but in range to fire. Due to compel from krennic I either had to kill his troopers or make them panic in order to stop them from contesting the middle objective. It didn’t look great for me, but if I got to act first, maybe I could manage to kill enough with my veterans since they were pretty much at full health. Sadly Bossk reptile brain were faster this time and he wasn’t gonna leave the empire wishing they hired another bounty hunter.

He ran into range of the objective and gas grenaded my entire remaining army. While my blocks were over average the suppression and poison was still a massive blow to my chances of winning, as well as I could only activate one of my veterans before his death troopers deletes the second one. My only option was to split fire with one of my veteran squads hoping to drop one of his trooper leaders and put another suppression on his shores hoping they would panic. I did manage to panic his shores, but his lone trooper leader survived and his deathroopers deleted my second one veteran squad without any problem. In the end I had the option on putting Leia in the centre and losing on points or keeping her back and losing on victory tokens.

It would be easy to blame this on luck as it was a 50/50 roll in the end. However I needed to go first in order to have a shot at winning, my opponent didn’t he just had a bigger chance of winning by going first. So ignoring round 6 we have to look at the entire match and see that I advanced with my tauntauns to early and that I should have kept my commandos further back and use their sniper on the first 3-4 turns and have them as a courage 2 reserve unit to claim objectives in the late game. So I won’t deny my opponent’s skill and blame only luck, however it was an important roll and I might have taken the win if it had gone my way (story of every loss though).

Final thoughts
I has a great time in Linköping, but it was a long day. 18 hours awake and A LOT of coffee. The organisers did a fine job and I walked away with a ton of loot. The terrain had a lot more pieces to climb on than I was used to and less area terrain or difficult terrain which I am used to. I really missed grappling hooks on my commandos every game. This is something that is hard to plan ahead for of course. After seeing a lot of tauntauns in the field I understand why they are popular as they got mobility, nice dmg in both shooting&melee as well as a crazy action economy, however I feel like they pretty balanced given the price compared to the other supports. We had 2 lists with at-st’s and there was a few at-rt’s and bikes, however with the new critical weapons you don’t need impact to handle them I feel. The empire got Veers as a good commander for vehicle lists, I would like to se a commander or operative that could give rebel vehicle lists a bit of a boost. While I like the full commando squads offensive power, I think that going with dual strike teams or pathfinders might be a better way forward. Dual snipers can stay back and deal dmg and hold objectives. Pathfinders can survive a little better with danger sense against all the mortars and use infiltrate ability to threaten enemy objectives.
Standout unit was my gammorean Z-6 trooper squad. I think he averaged rolled 2.5 crits per attack.


It was a desperate battle in the end, but do you know what I like to do in desperate situations?